Two Worlds II:The Well of Wisdom: Difference between revisions
imported>Korra II A Royal |
imported>Korra II A Royal No edit summary |
||
| Line 62: | Line 62: | ||
===Monsters=== | ===Monsters=== | ||
* {{TwoWorldsII|White Wolf}} | * {{TwoWorldsII|White Wolf}} x42 | ||
* {{TwoWorldsII|Blighted Vespine}} x8 | |||
* {{TwoWorldsII|Blighted Vespine}} | * {{TwoWorldsII|Vespine Queen}} x5 | ||
* {{TwoWorldsII|Vespine Queen}} | * {{TwoWorldsII|Vidon}} x99 | ||
* {{TwoWorldsII|Vidon}} | * {{TwoWorldsII|Warthog}} x6 | ||
* {{TwoWorldsII|Warthog}} | * {{TwoWorldsII|Vespine Guardian}} x10 | ||
* {{TwoWorldsII|Vespine Guardian}} | * {{TwoWorldsII|Grom}} x20 | ||
* {{TwoWorldsII|Grom}} | * {{TwoWorldsII|Bear}} x3 | ||
* {{TwoWorldsII|Bear}} | * {{TwoWorldsII|Willow Oak Giant}} x5 | ||
* {{TwoWorldsII|Willow Oak Giant}} | * {{TwoWorldsII|Giant Ant}} x8 | ||
* {{TwoWorldsII|Giant Ant}} | * {{TwoWorldsII|Stone Golem}} x2 | ||
* {{TwoWorldsII|Stone | |||
===Ingredients=== | ===Ingredients=== | ||
| Line 118: | Line 117: | ||
Two Worlds II - The Well of Wisdom Quest Log 3.png | | Two Worlds II - The Well of Wisdom Quest Log 3.png | | ||
Two Worlds II - The Well of Wisdom Quest Log 4.png | | Two Worlds II - The Well of Wisdom Quest Log 4.png | | ||
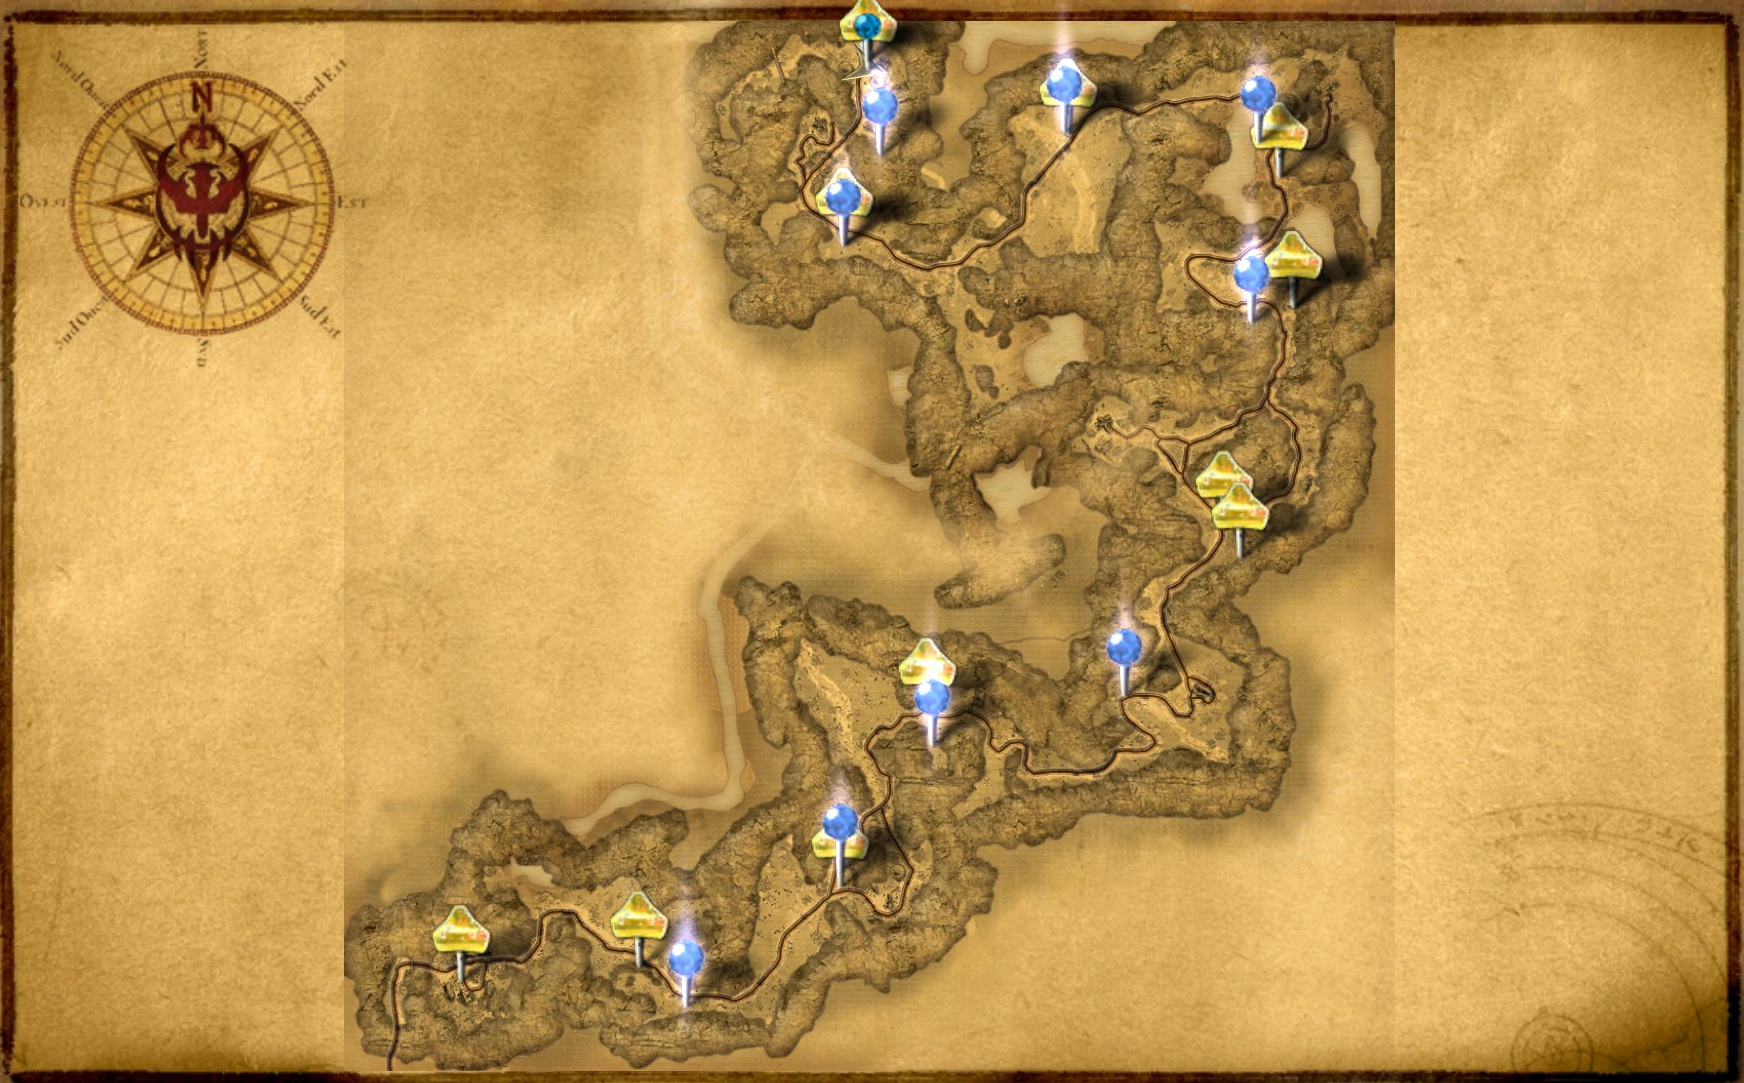
Two Worlds II - The Well of Wisdom noteworthy locations.png | Noteworthy locations. | |||
Two Worlds II - The Well of Wisdom chest 1.png | Chest 1 location. | Two Worlds II - The Well of Wisdom chest 1.png | Chest 1 location. | ||
Two Worlds II - The Well of Wisdom chest 2.png | Chest 2 location. | Two Worlds II - The Well of Wisdom chest 2.png | Chest 2 location. | ||
Two Worlds II - The Well of Wisdom danger hole.png | Two Worlds II - The Well of Wisdom chest 3.png | Chest 3 location. | ||
Two Worlds II - The Well of Wisdom | Two Worlds II - The Well of Wisdom chest 4.png | Chest 4 location. | ||
Two Worlds II - The Well of Wisdom chest 5.png | Chest 5 location. | |||
</gallery> | |||
===Gallery (glitches)=== | |||
<gallery> | |||
Two Worlds II - The Well of Wisdom danger hole.png | Dangerous hole. | |||
Two Worlds II - The Well of Wisdom teleport hole.png | Teleport hole. | |||
Two Worlds II - The Well of Wisdom teleport hole map.png | Teleport hole on the map. | |||
Two Worlds II - The Well of Wisdom ground glich.png | Messed up ground. | |||
Two Worlds II - The Well of Wisdom Out of bounds 1.png | Out of bounds hole. | |||
Two Worlds II - The Well of Wisdom Out of bounds 2.png | | |||
Two Worlds II - The Well of Wisdom Out of bounds 3.png | | |||
Two Worlds II - The Well of Wisdom Out of bounds 4.png | | |||
</gallery> | </gallery> | ||
| Line 128: | Line 141: | ||
* Near the fourth teleport is a hole in the ground that the player can fall into and get trapped. | * Near the fourth teleport is a hole in the ground that the player can fall into and get trapped. | ||
** If you have a personal teleport platform, you can place it down and escape using that. You can reclaim it once you've finished the level and are free to quit without losing progress. | ** If you have a personal teleport platform, you can place it down and escape using that. You can reclaim it once you've finished the level and are free to quit without losing progress. | ||
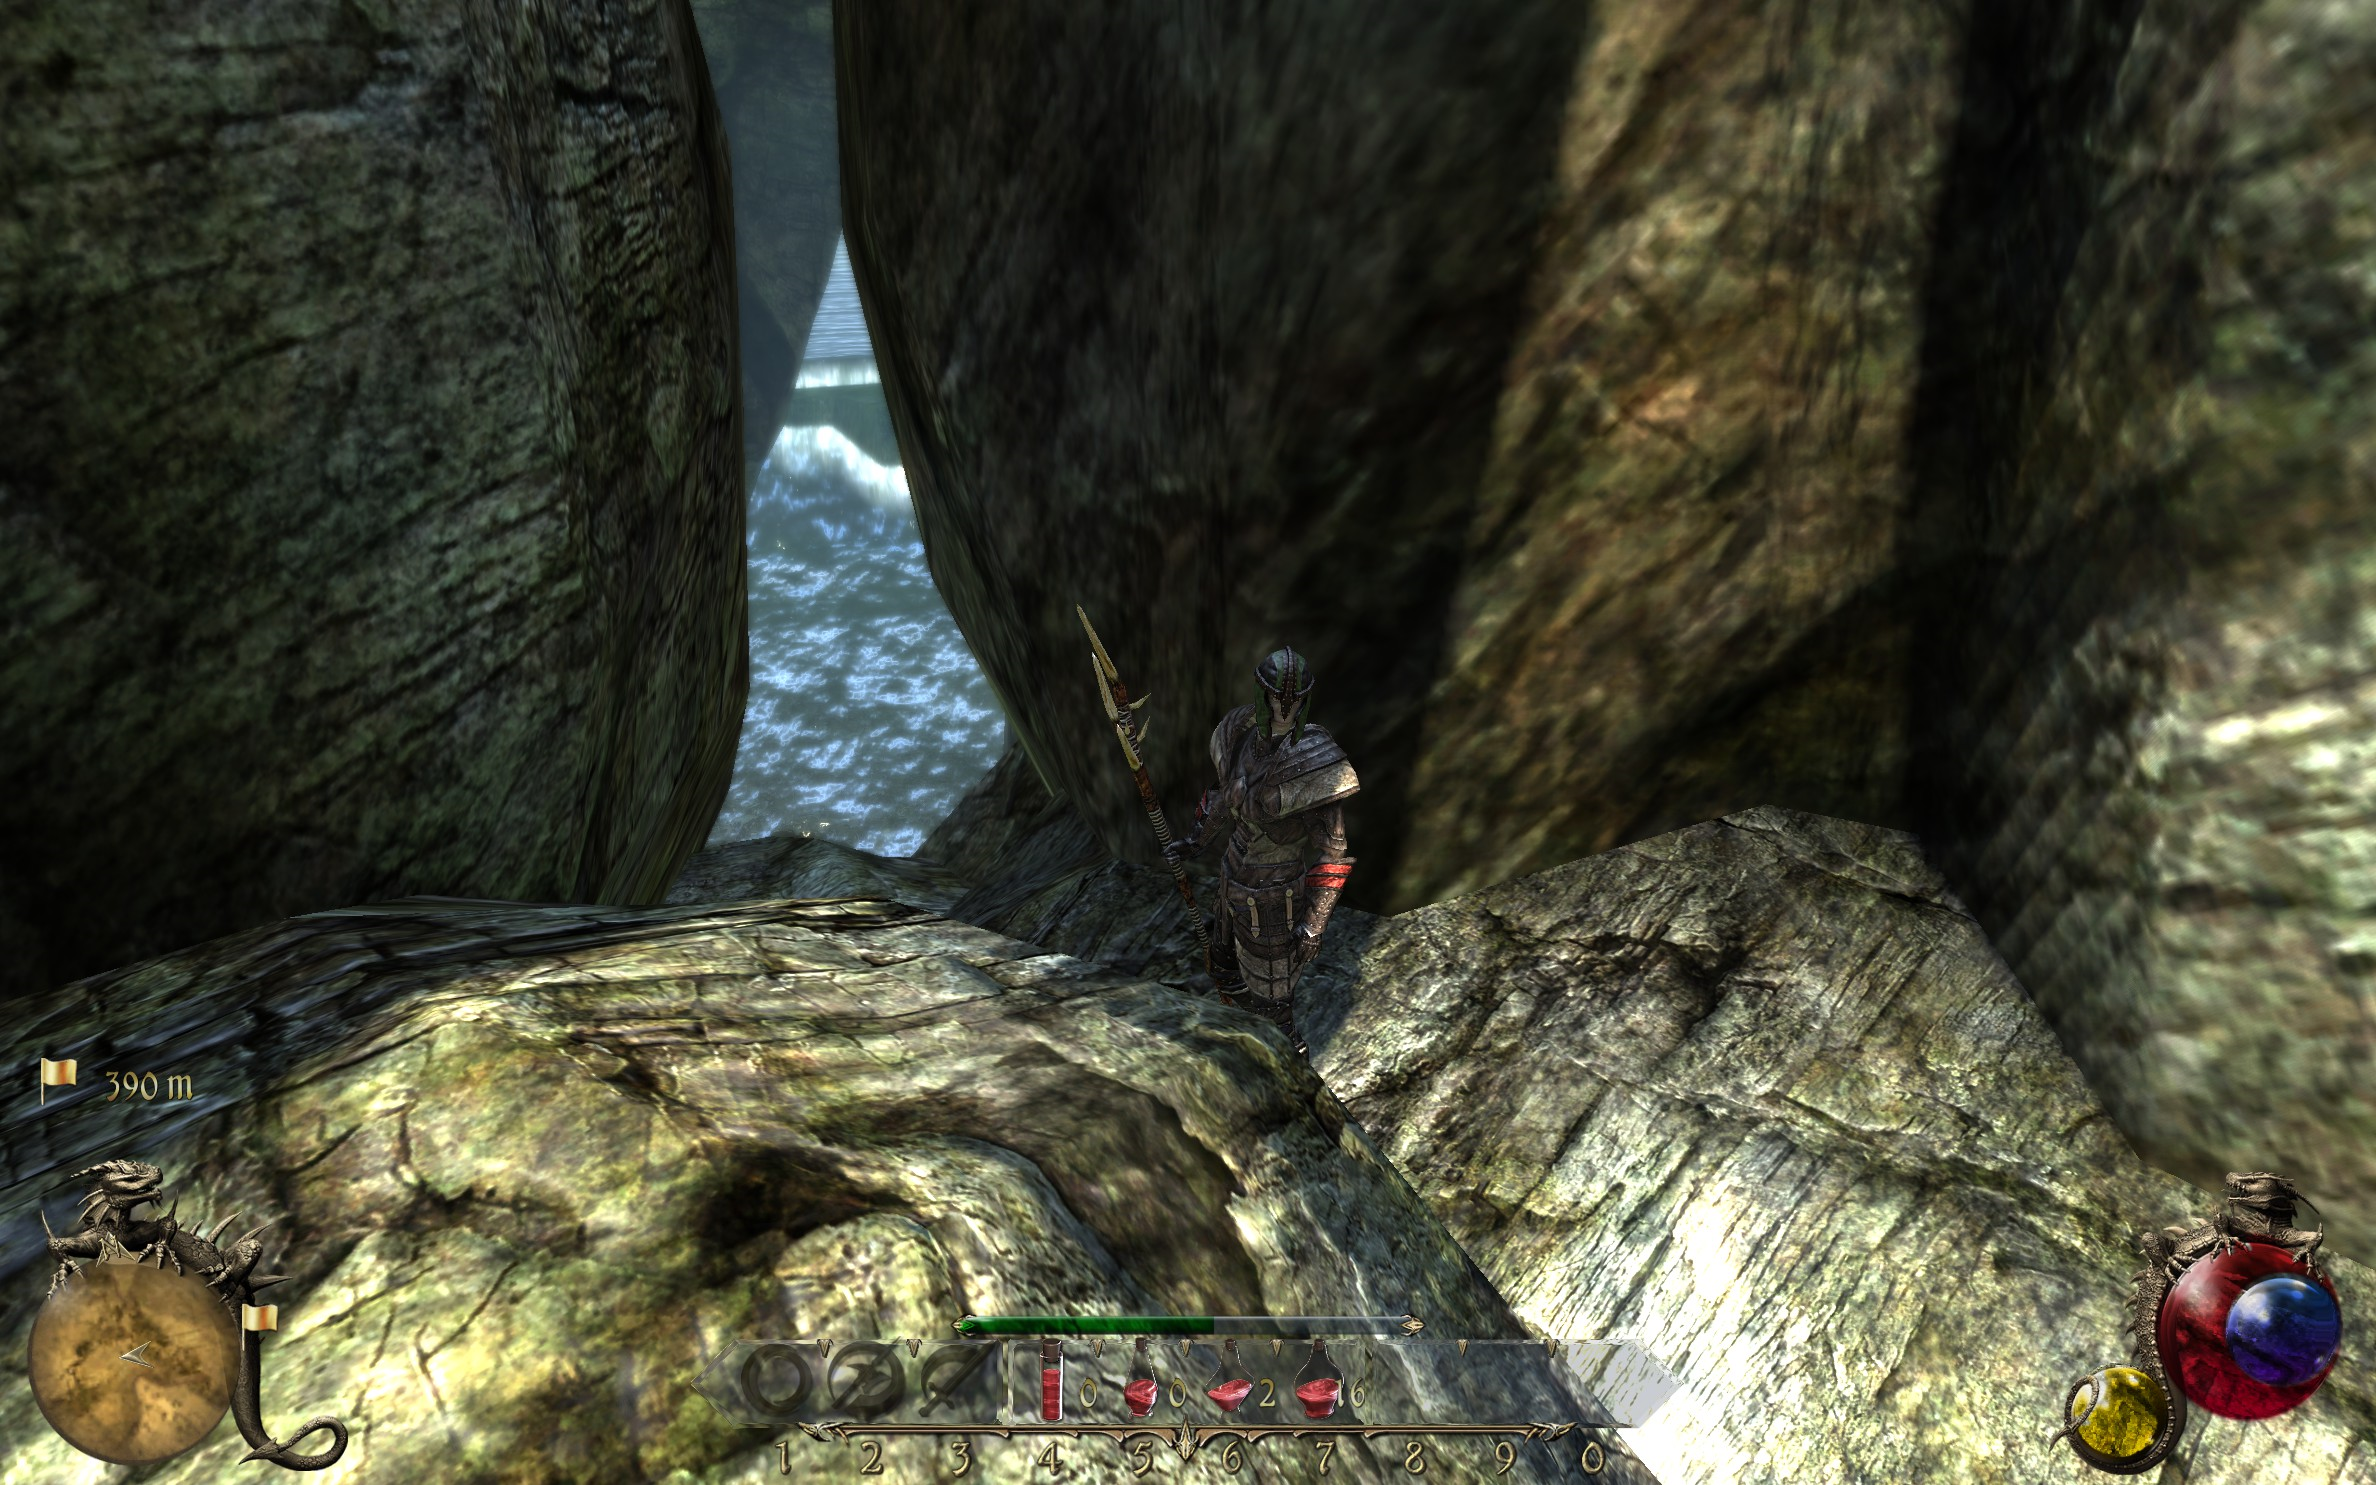
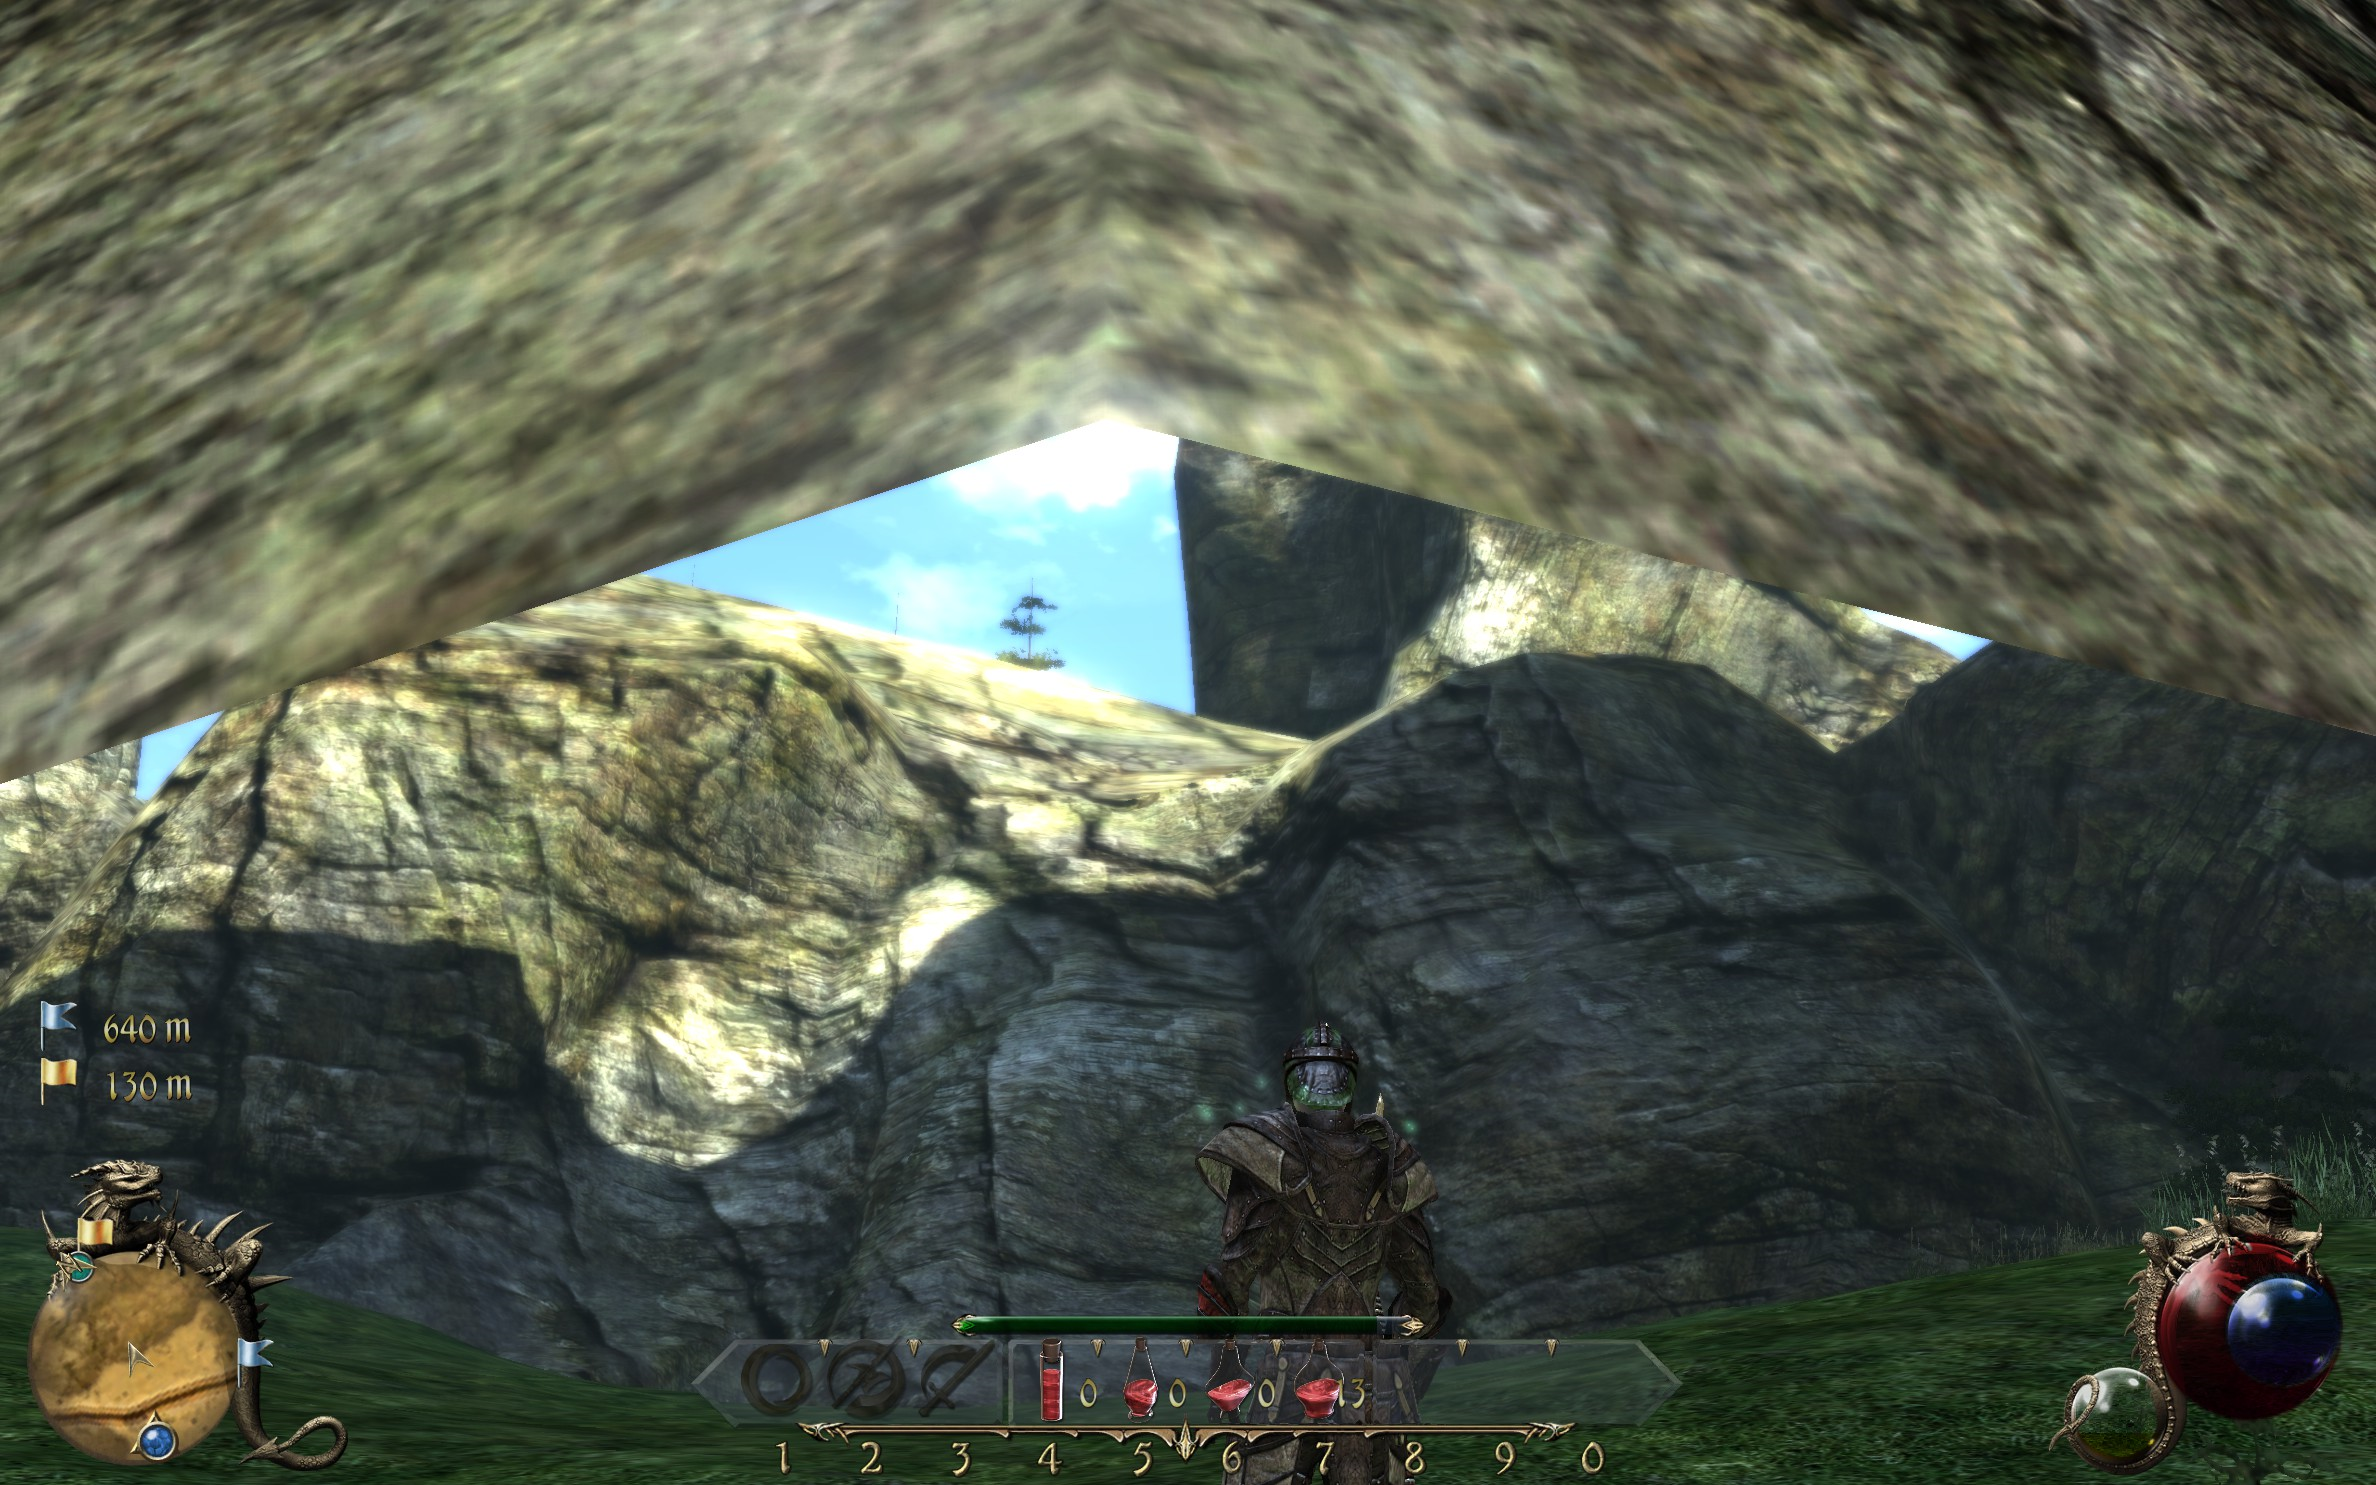
* Across from the second to last Teleport is a mountain that the player can walk under. | ** A second method to get out of the hole is to run at the wall. With enough stamina, eventually, you'll be able to run out of it. | ||
* After dealing with the Vidon that spawns on and around a bridge, if the player follows the river to its end, they can go out of bounds. Where they'll be teleported back to the start of the level. | |||
** The river between the third and fourth teleports. | |||
* Across from the second to last Teleport is a mountain that the player can walk under, getting out of bounds. | |||
==In other languages== | ==In other languages== | ||
| Line 148: | Line 165: | ||
}} | }} | ||
==Trivia== | ==Trivia== | ||
* The quest logs for this mission contain three different mistakes. | |||
==See Also== | ==See Also== | ||
Revision as of 06:27, October 2, 2021
| Chapter III:The Well of Wisdom | |||||||||||||||
|---|---|---|---|---|---|---|---|---|---|---|---|---|---|---|---|

| |||||||||||||||
| |||||||||||||||
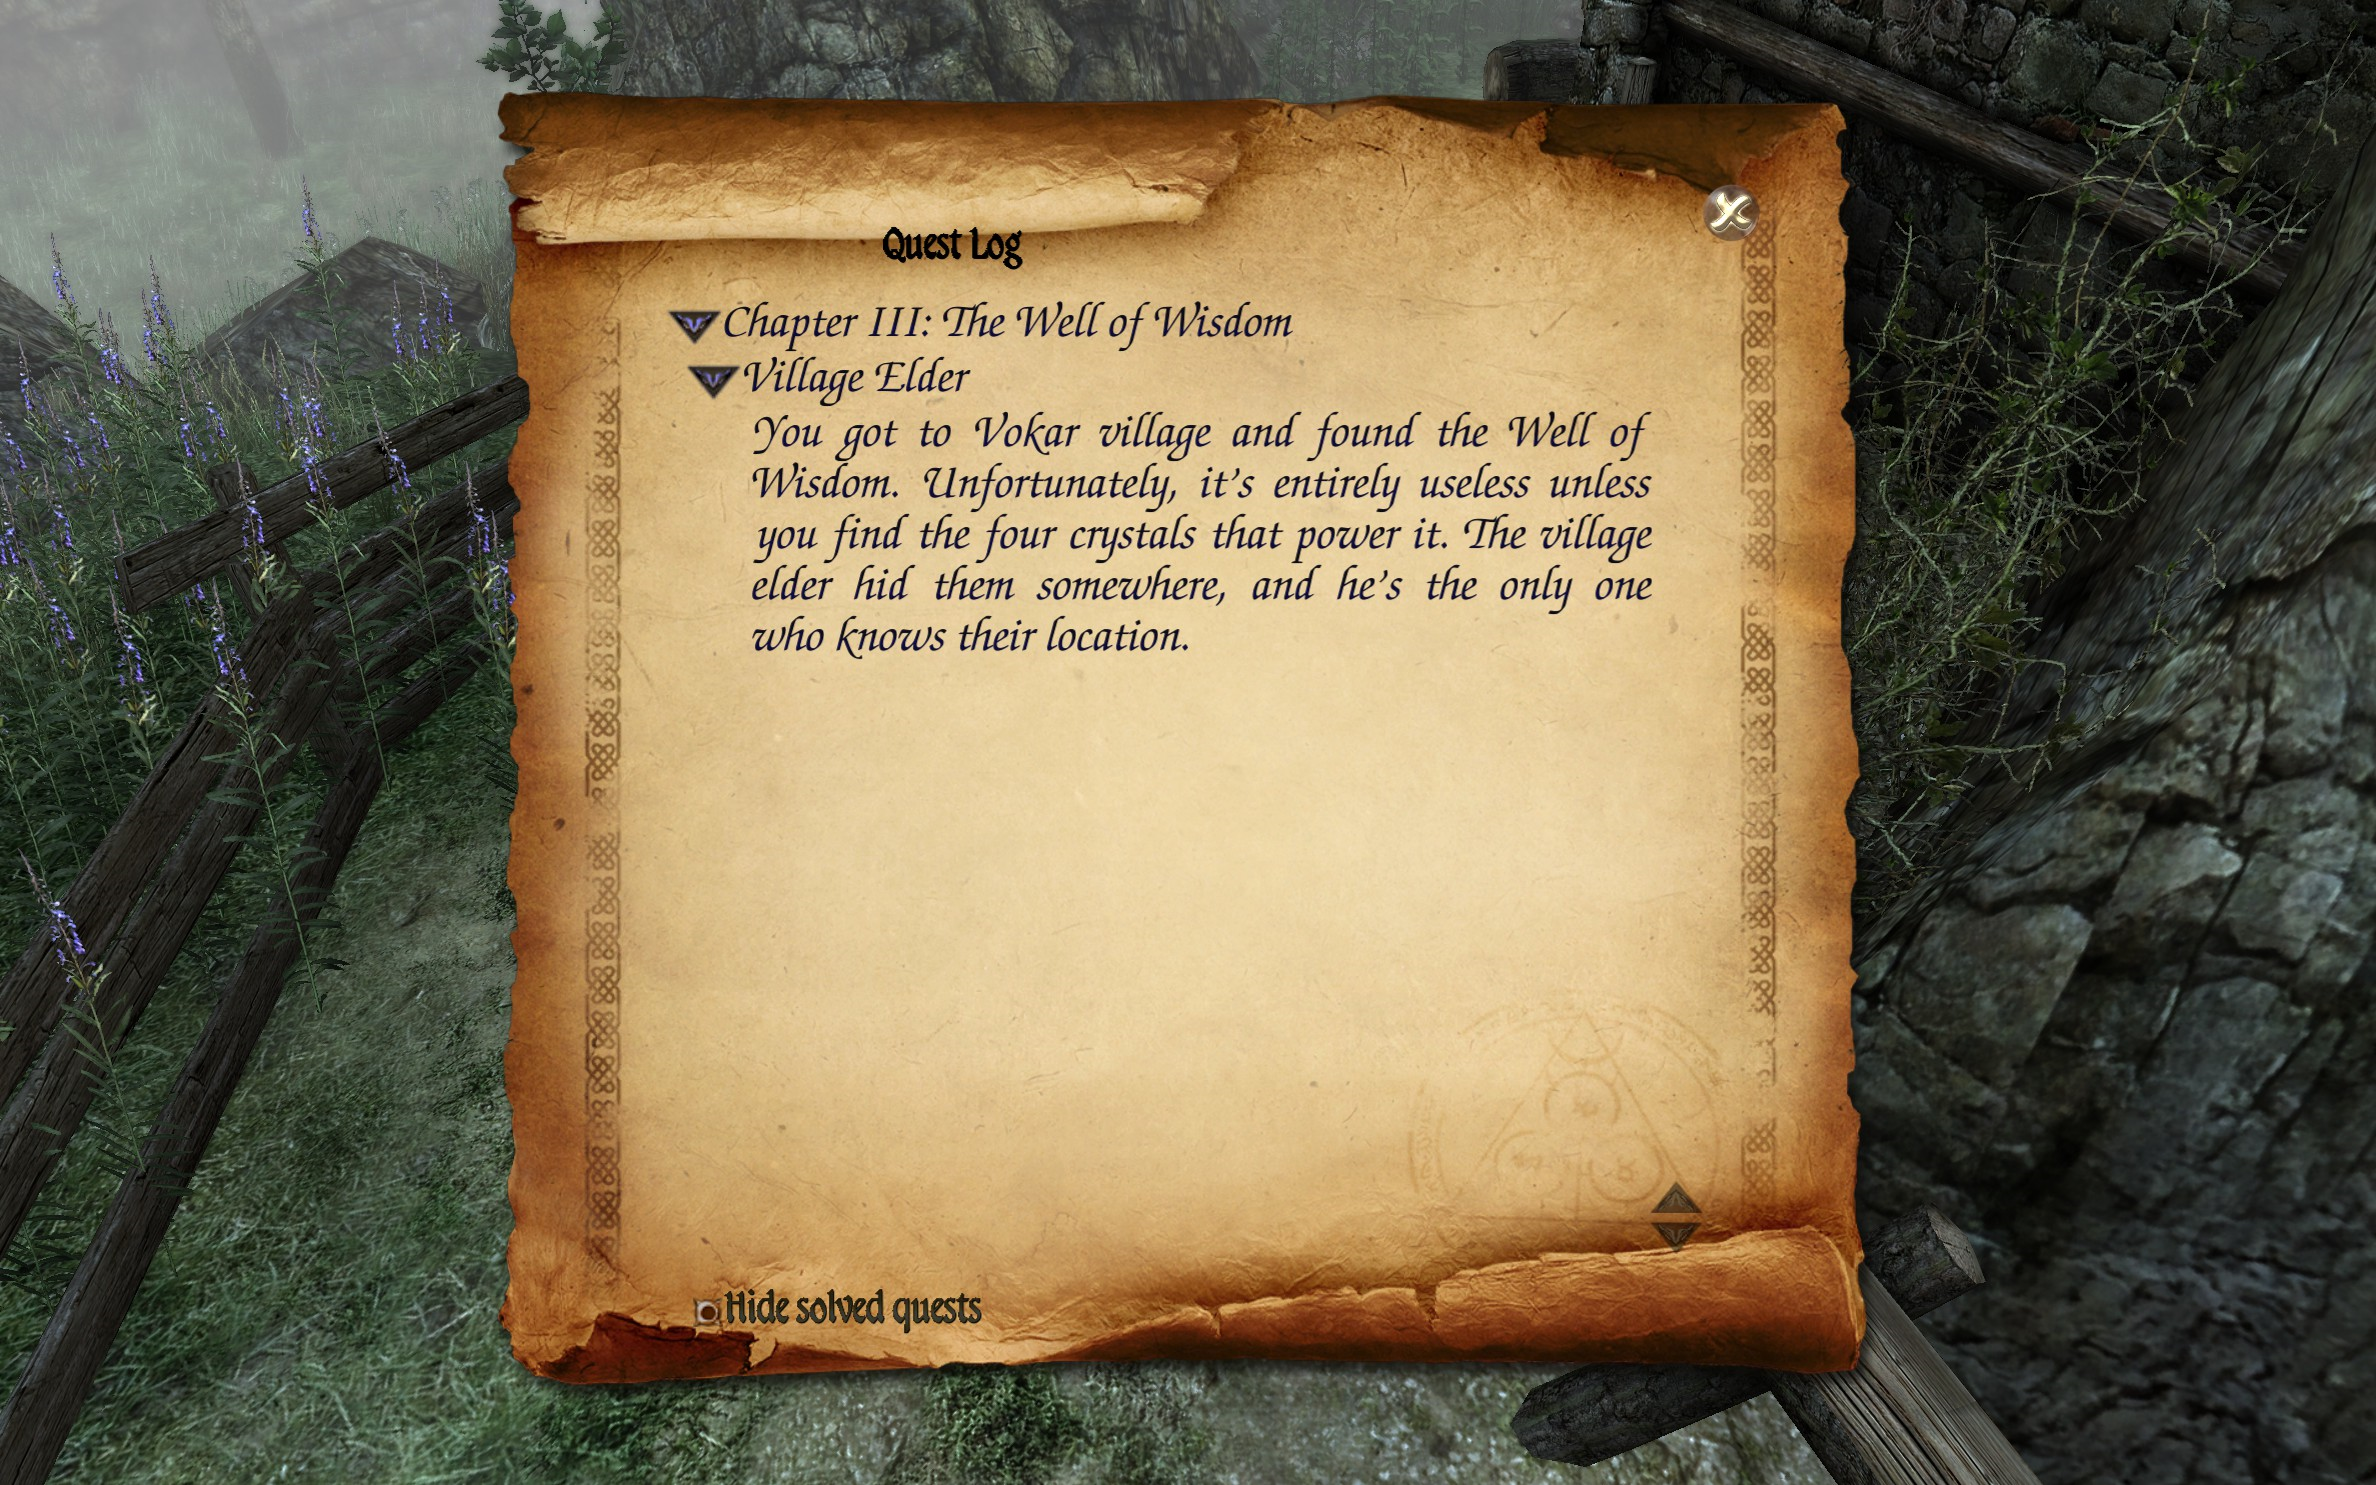
Chapter III: Through the Mine is the third of the seven online missions for the base game of Two Worlds II. The Vokar Village Elder has been kidnapped by Vidons. The player has to fight their way through the region around the Village of Vokar to rescue the Village Elder as he's the only one who knows where the Well's crystals are hidden.
Chapter III:The Well of Wisdom
- You've reached the village of Vokar and are you are close to activating the Well of Wisdom. First, however, you will need to locate the Village Elder, who is the only person who knows how to operate it.
Dorthar: To protect the power of the Well of Wisdom from falling into the wrong hands, the village elder has removed the four crystals of knowledge and hidden them in a place only he knows about. He might be willing to tell you if there's a dire need, but... without them, all you'll hope to get from the Well is a nice, muddy drink.
- You got to Vokar village and found the Well of Wisdom. Unfortunately, it's entirely useless unless you find the four crystals that power it. The village elder hid them somewhere, and he's the only one who knows their location.
Elder's Wife: I don't know you! But... I see you're not one of them. Thank the gods. I... I feel terrible about imposing on a stranger like this, but... I could use your help. I don't know who else to ask. My husband was kidnapped by Vidons! He's being held hostage in their camp. They were after our crystals. I'm sure he's being tortured, or will be soon. Please save him. I'll do anything...
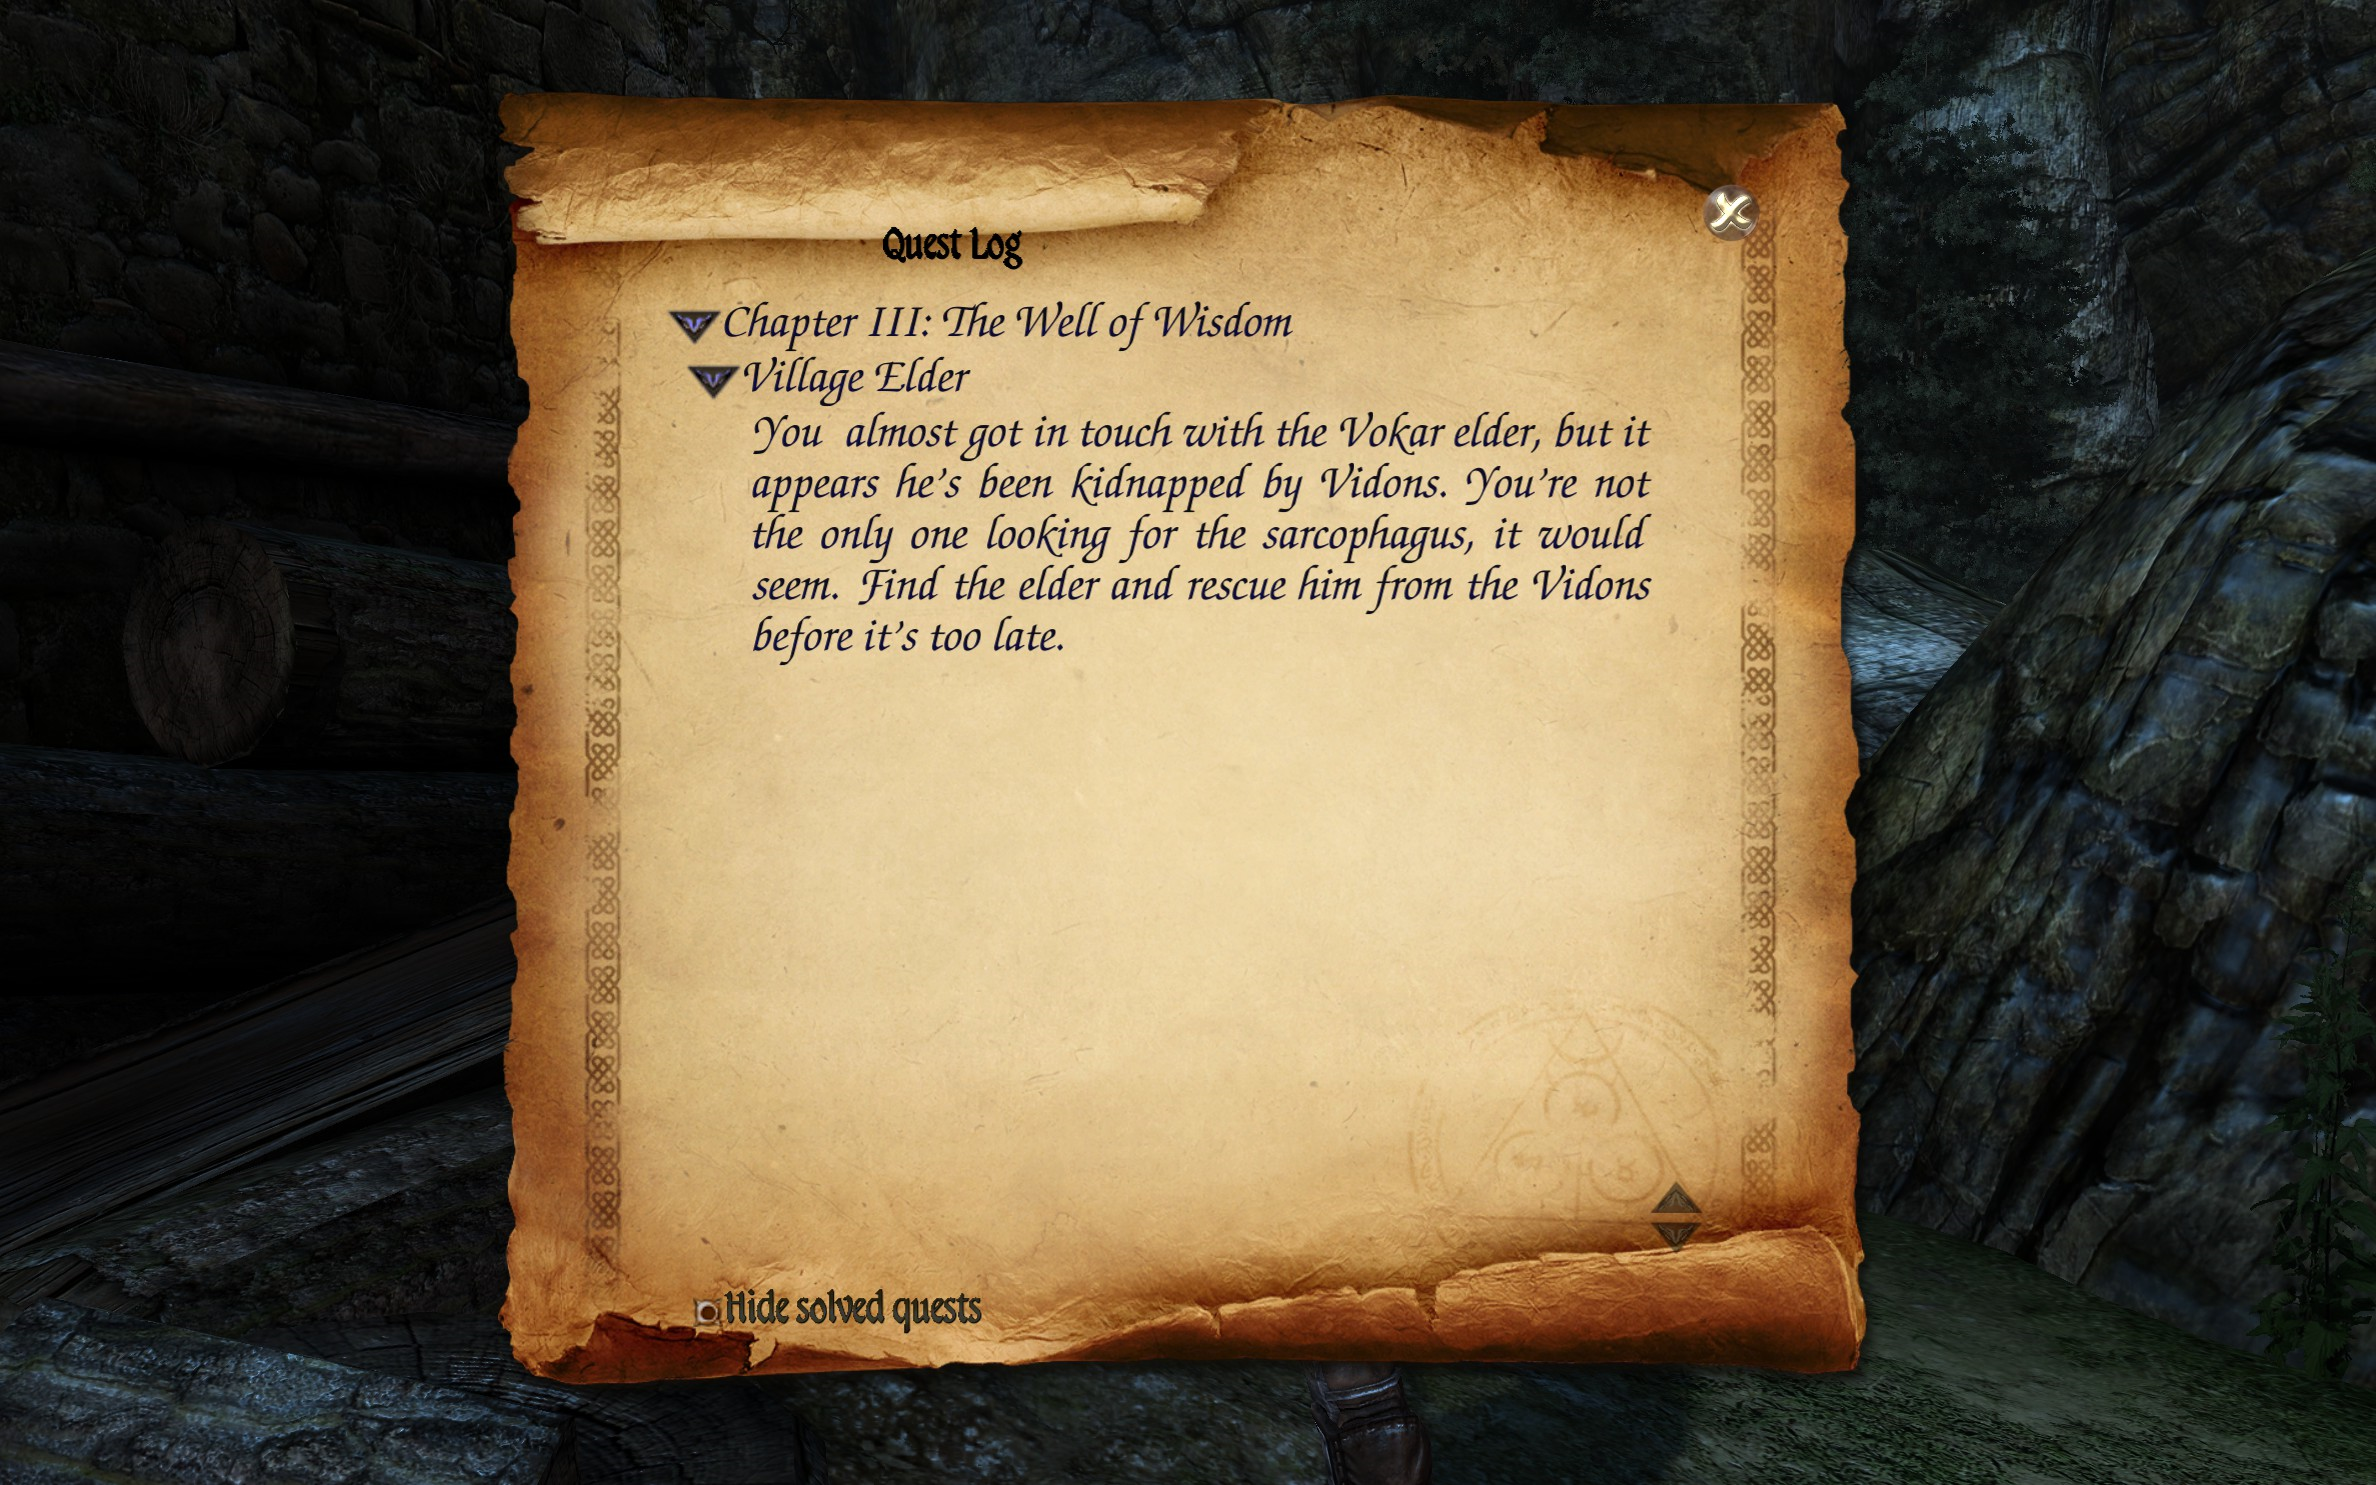
- You almost got in touch with the Vokar elder, but it appears he's been kidnapped by Vidons. You're not the only one looking for the sarcophagus, it would seem. Find the elder and rescue him from the Vidons before it's too late.
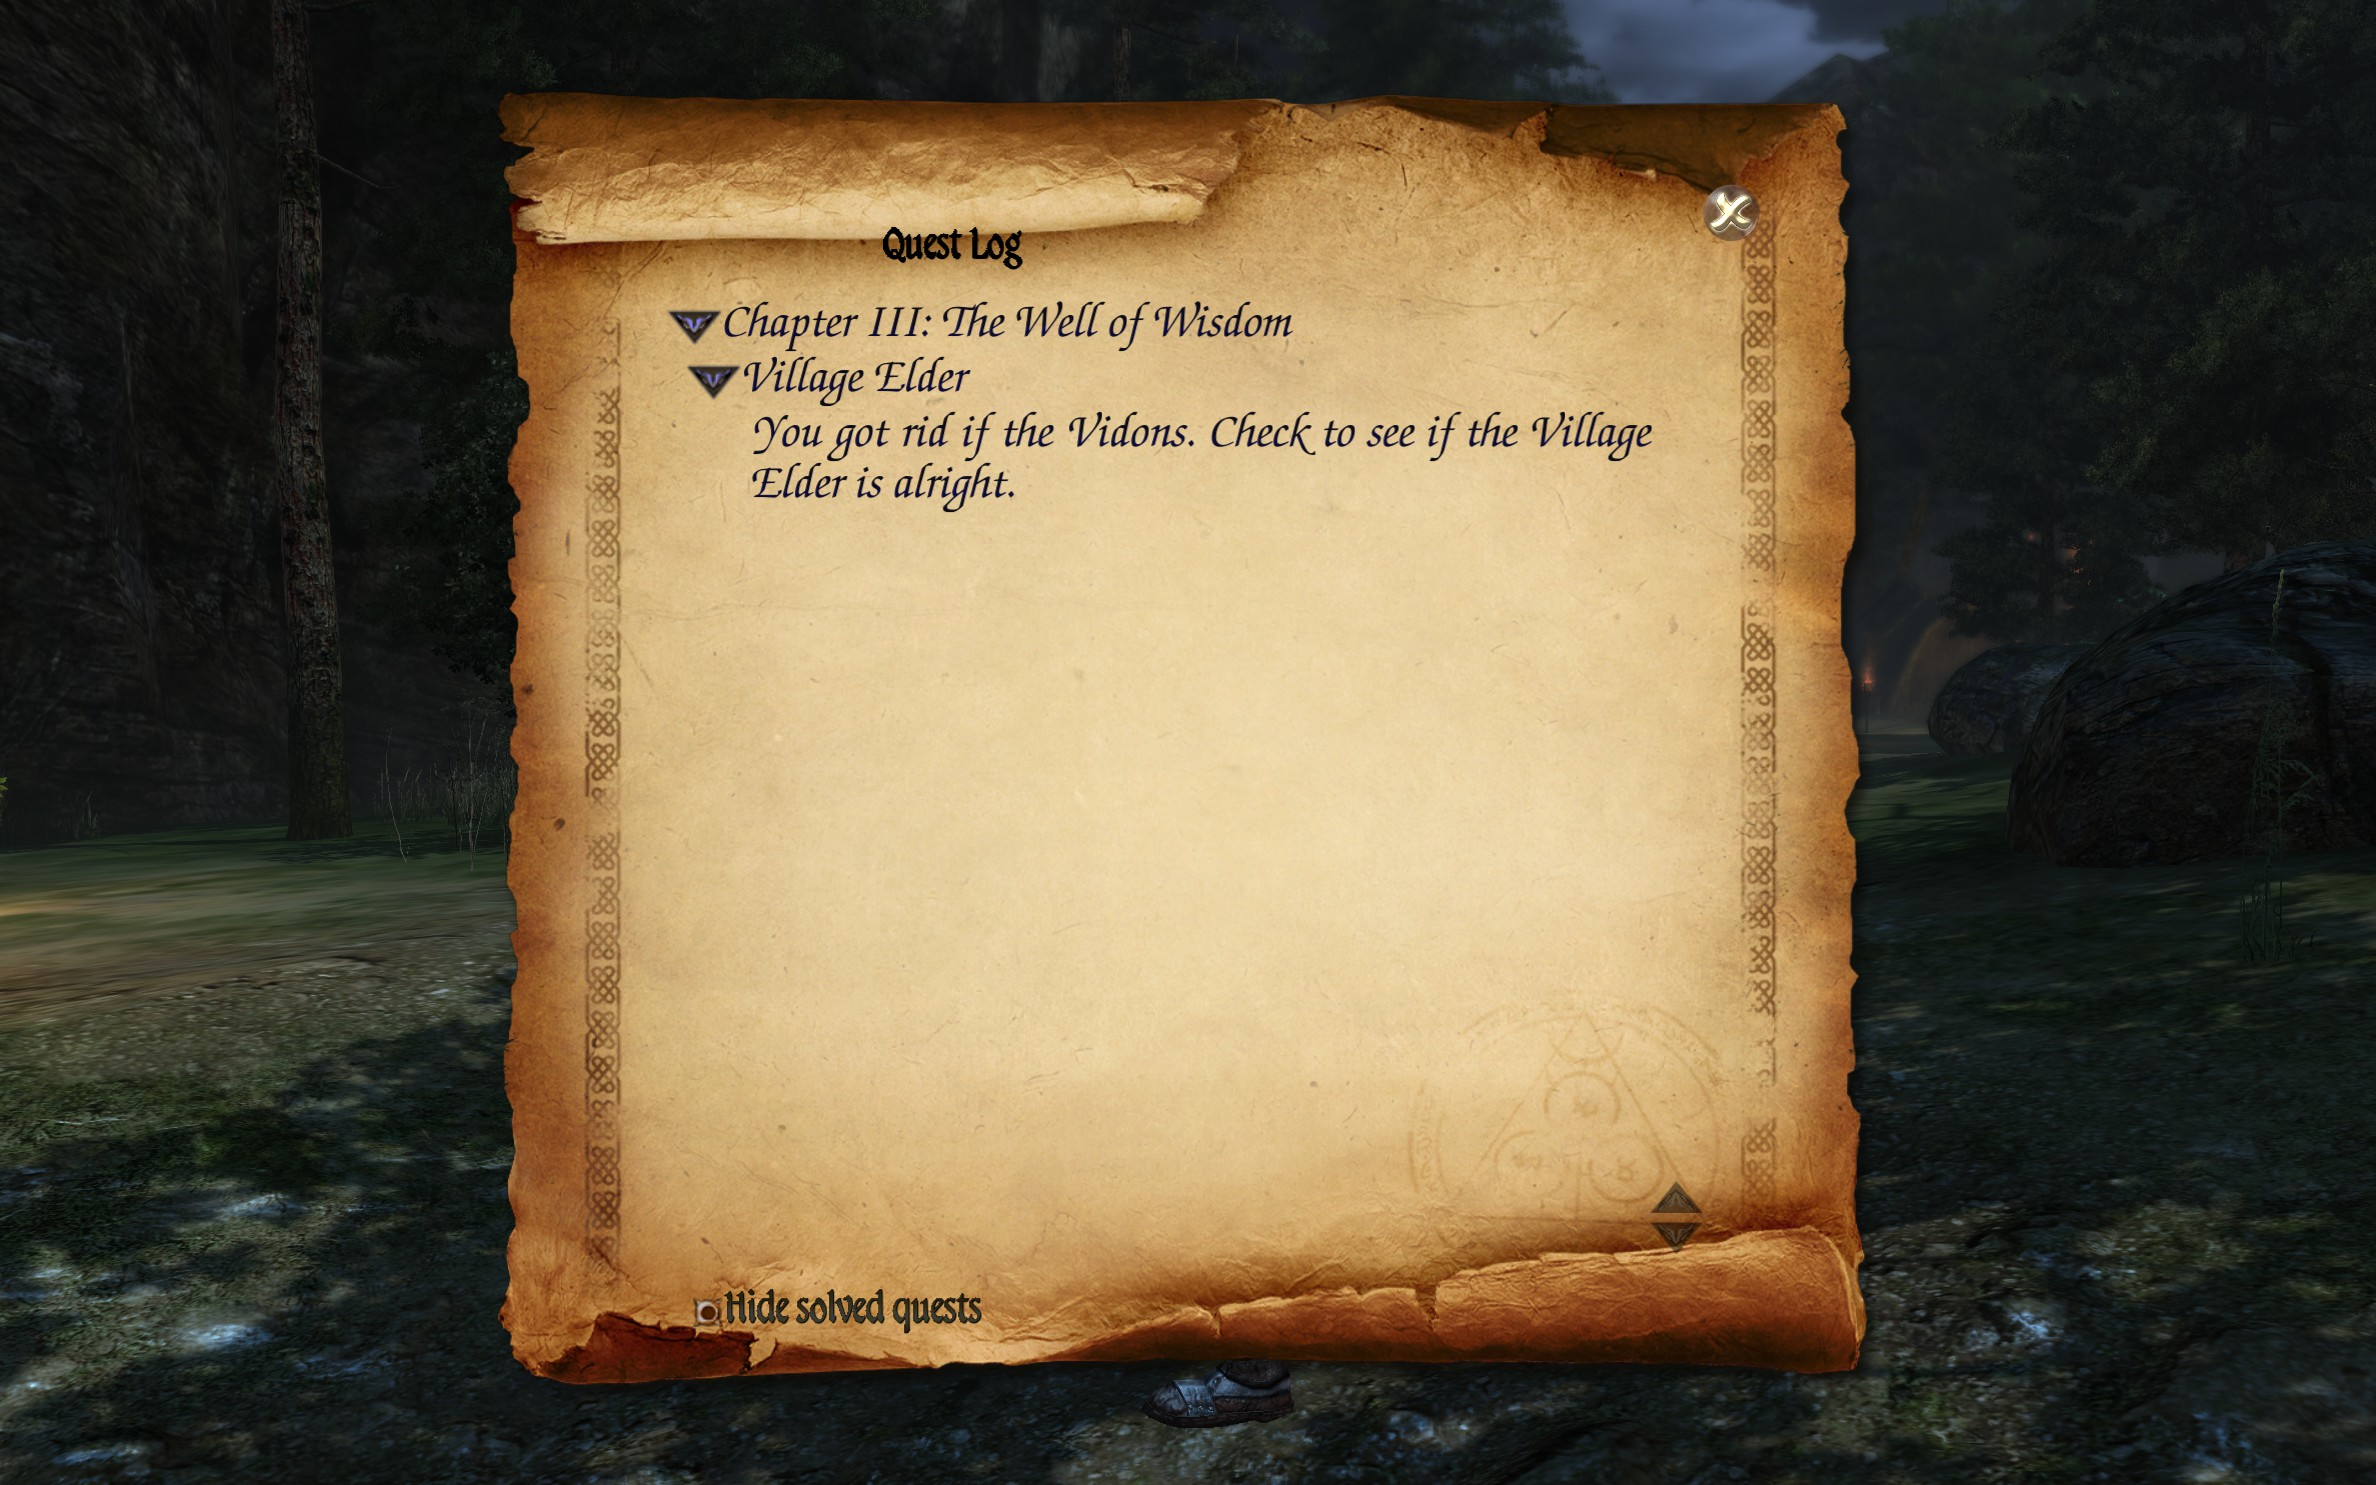
- You for rid if the Vidons. Check to see if the VIllage Elder is alright.
Village Elder: I can't thank you enough. I have no doubt they would have killed me. Vidons... miserable creatures. They kept demanding I tell them where I kept the crystals. They didn't know who they were dealing with. I'll die with this secret. Scaled slime. But... ah, yes. You probably want to know the same thing. Not many tourist attractions in Vokar. I'm not stupid. Well, if it wasn't for you I'd be dead. I can tell just by your look you're not after anything wicked. Perhaps I spoke too soon. Meet me in the village, and we'll speak some more. My wife must be worried sick.
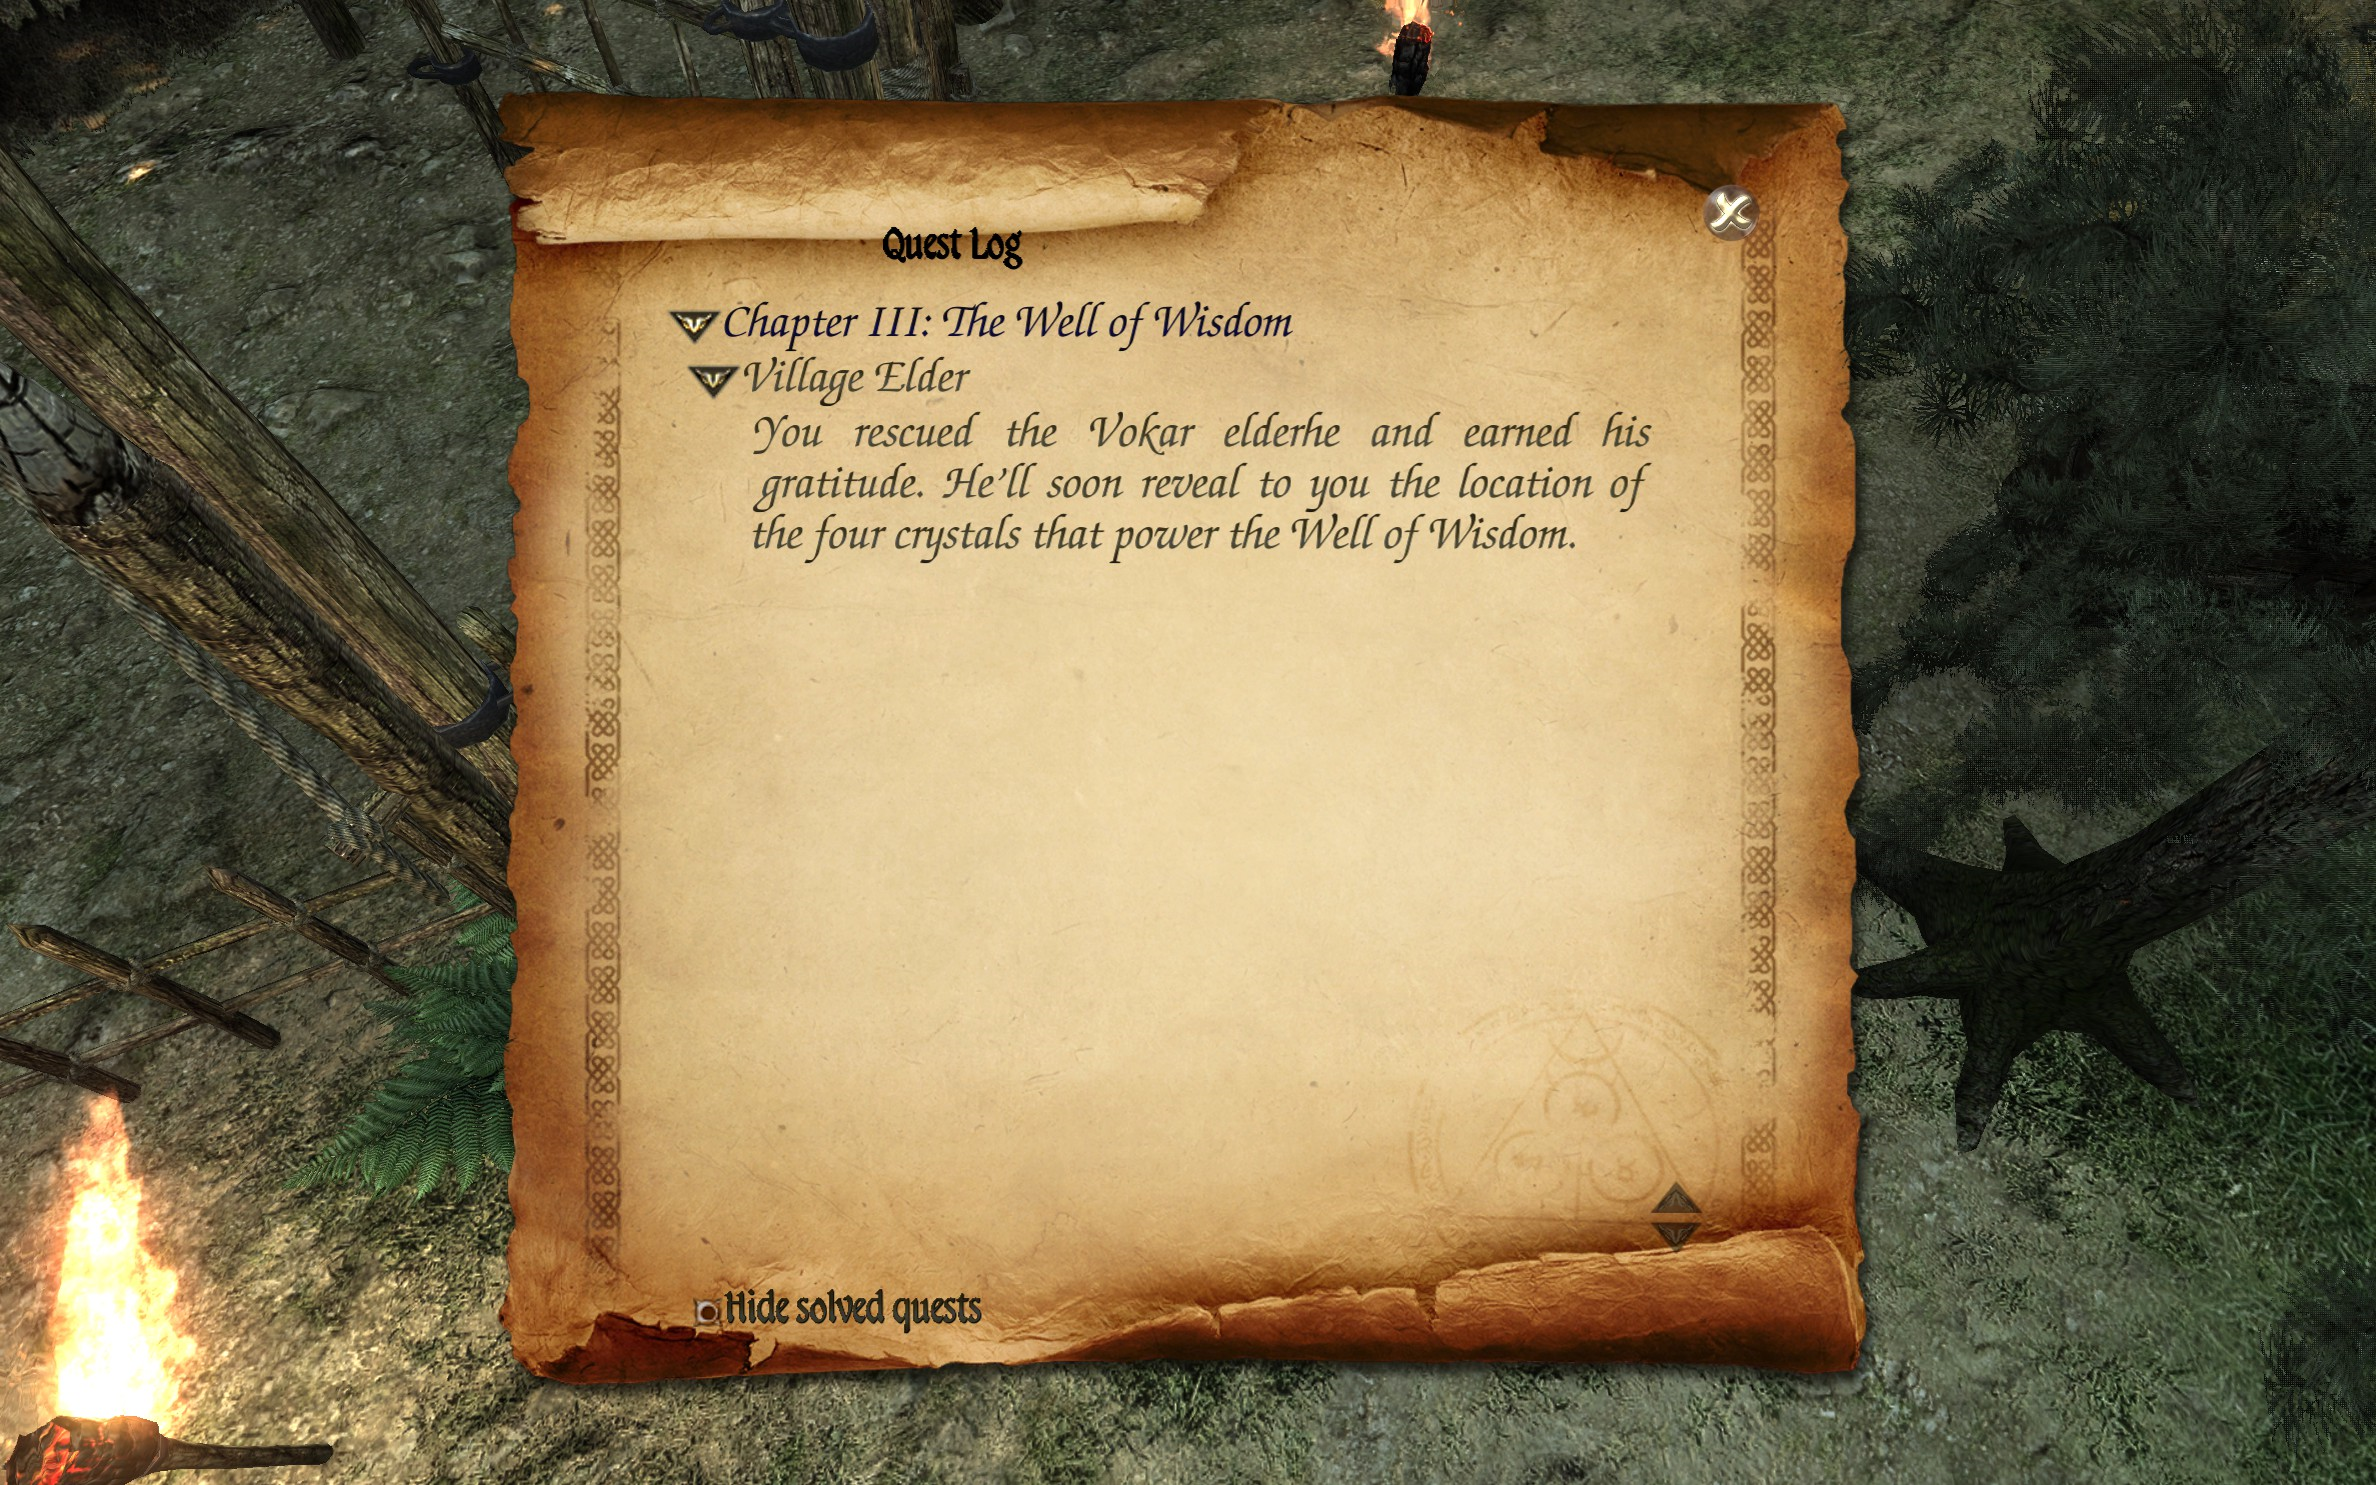
- You rescued the Vokar elderhe and earned his gratitude. He'll soon reveal to you the location of the four crystals that power the Well of Wisdom.
Noteworthy
Characters
Locations
In order of appearance.
- Teleport
- Water Altar of Yatholen
- Teleport
- Fire Altar of Aziraal
- Teleport
- Fire Altar of Aziraal
- Teleport
- Teleport
- Water Altar of Yatholen
- Locked Chest (Simple Lock)
- Locked Chest (Primitive Lock)
- Teleport
- Water Altar of Yatholen
- Locked Chest (Improved Lock)
- Water Altar of Yatholen
- Teleport
- Out of Bounds. See bugs.
- Earth Altar of Throglin
- Teleport
- Fire Altar of Aziraal
- Locked Chest (Basic Lock)
Monsters
- White Wolf x42
- Blighted Vespine x8
- Vespine Queen x5
- Vidon x99
- Warthog x6
- Vespine Guardian x10
- Grom x20
- Bear x3
- Willow Oak Giant x5
- Giant Ant x8
- Stone Golem x2
Ingredients
- Anemone
- Ant's Modular Brain
- Bear Claw
- Bear's Vein
- Boar Tusk
- Boletus
- Brown Toadstool
- Centaurium
- Diptame
- DLC2_ING52


- Dotted Toadstool
- Eagleclaw
- Forest Burnhand
- Foxglove
- Furball (brown)
- Furball (gray)
- Golem's Life Scroll
- Heavy Toadstool
- Lemon Toadstool
- Might of Nine
- Northern Frostroot
- Paturin
- Red Toadstool
- Sting
- Swordleaf
- Tainted Liver
- Tainted Spinal Cord
- Tongues
- Traveller's Joy
- Vespine Wing
- Warthog Fang
- Warthog's Mutated Kidney
- Wolf Heart
- Wolf's Vein
Gallery

Quest introduction.
Noteworthy locations.
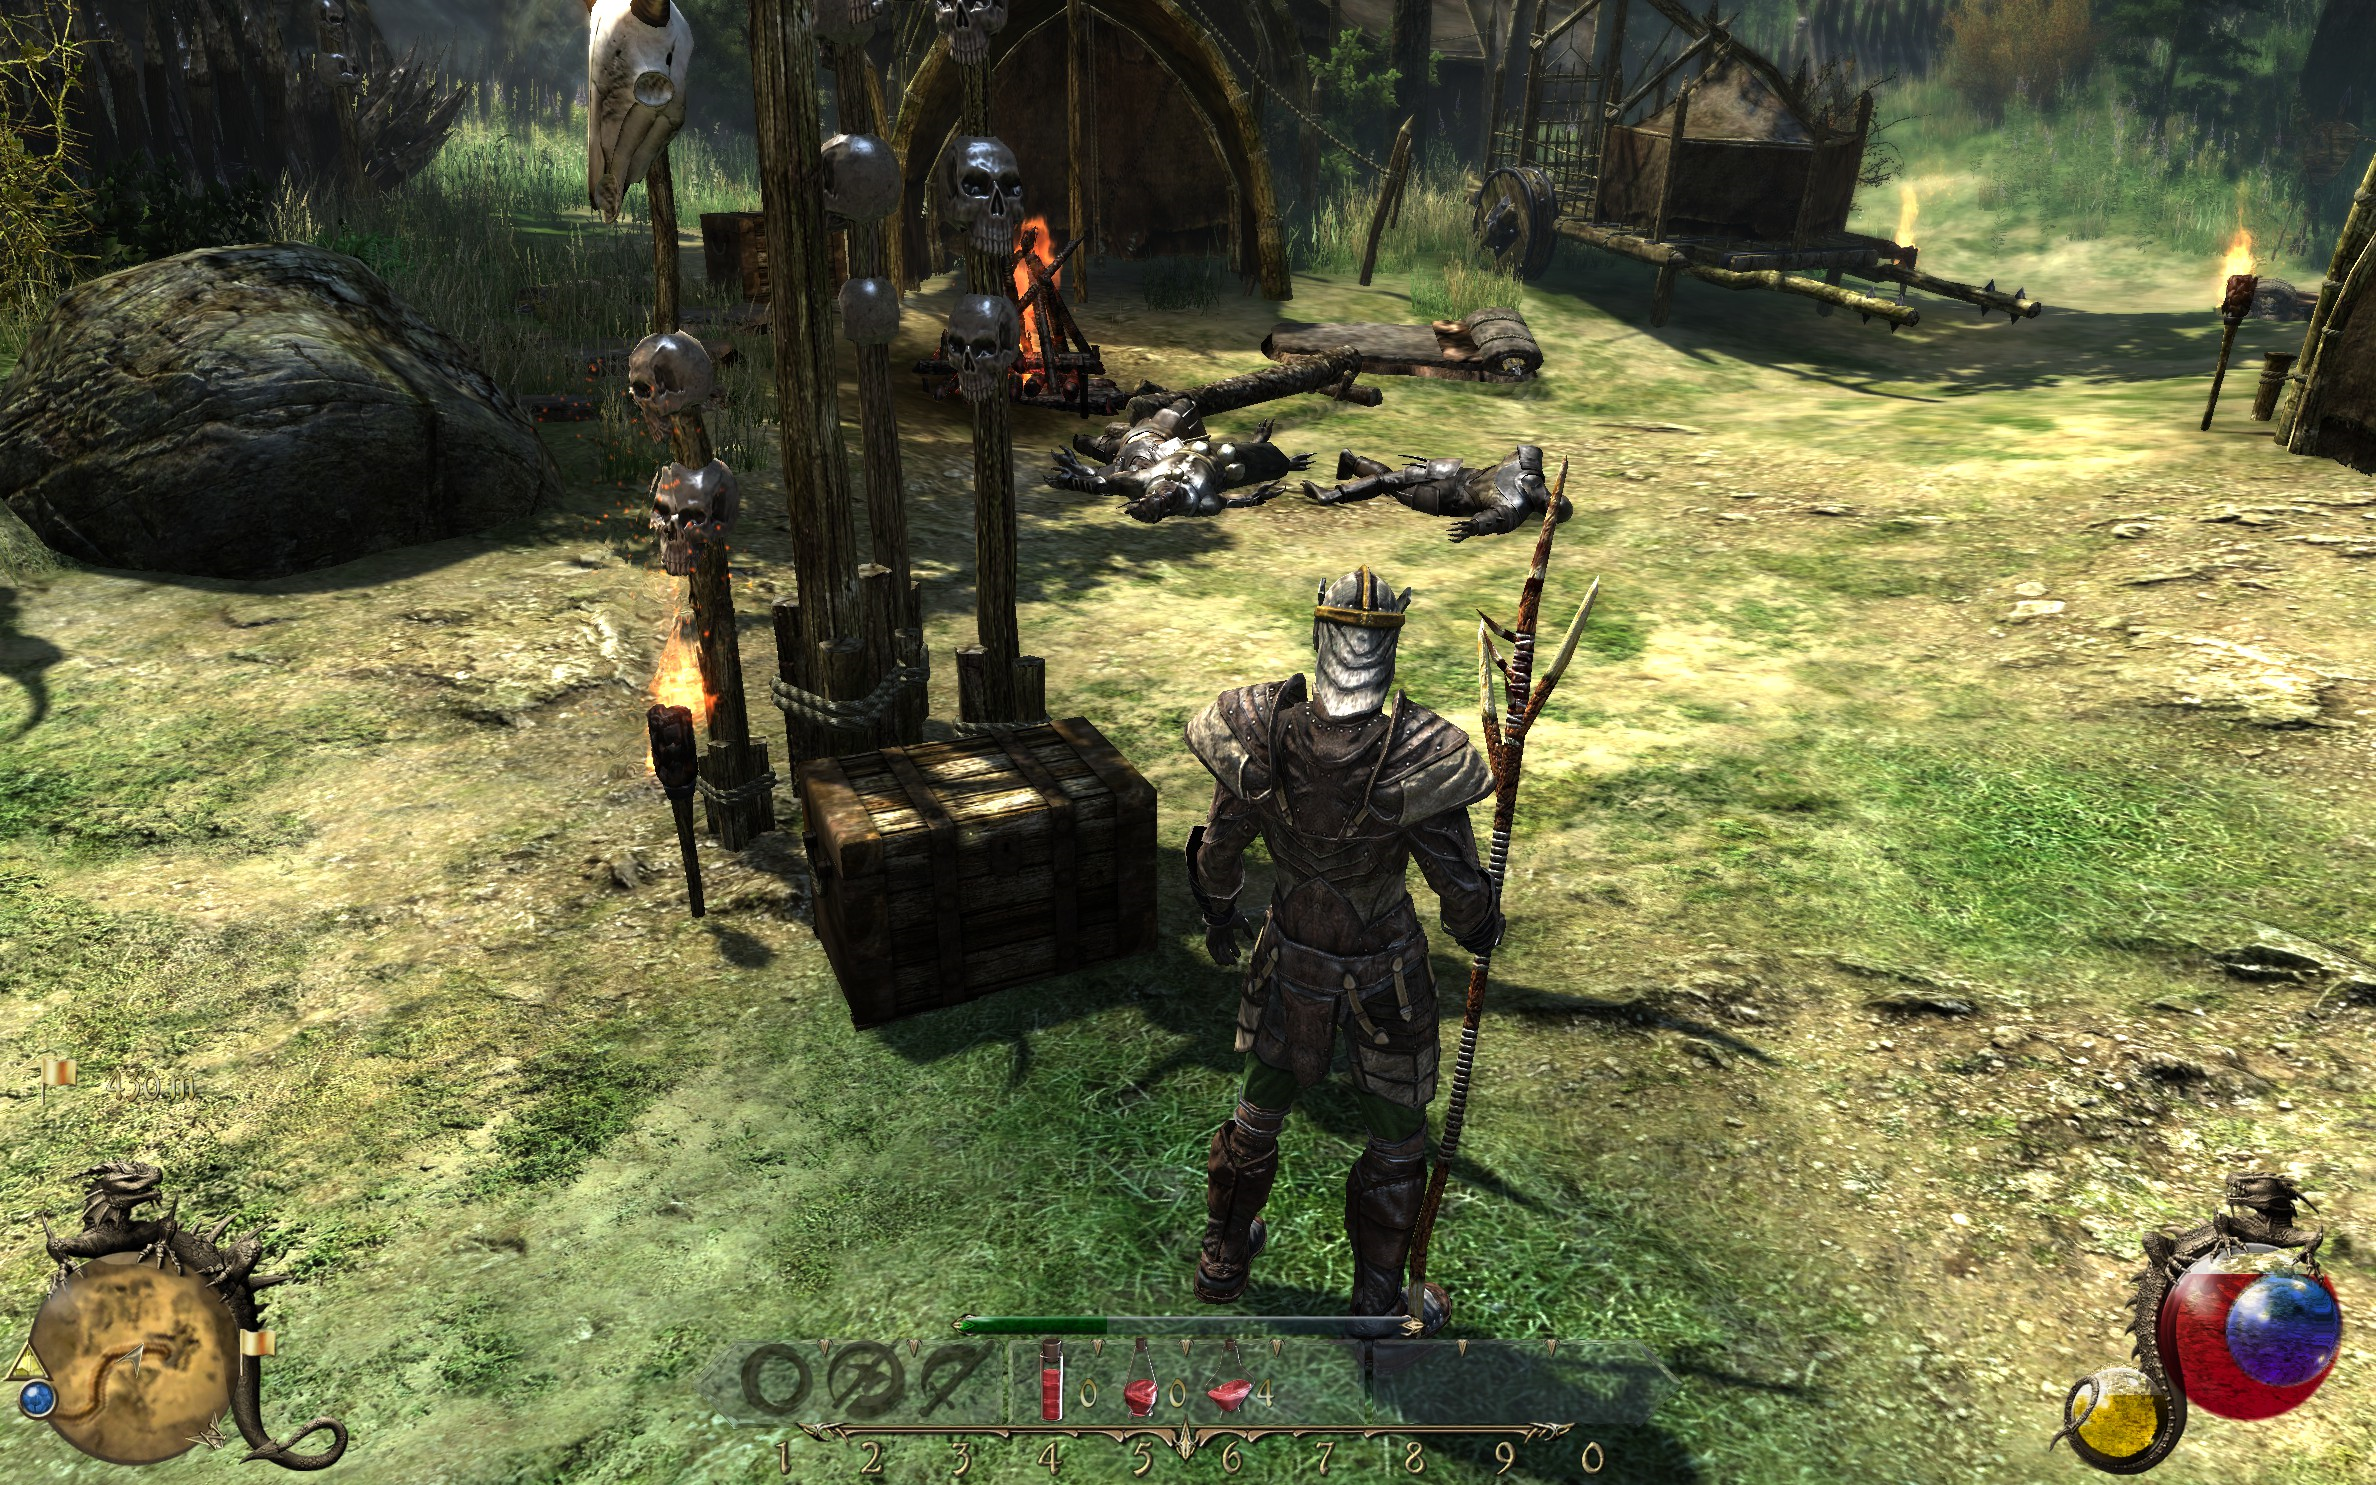
Chest 1 location.

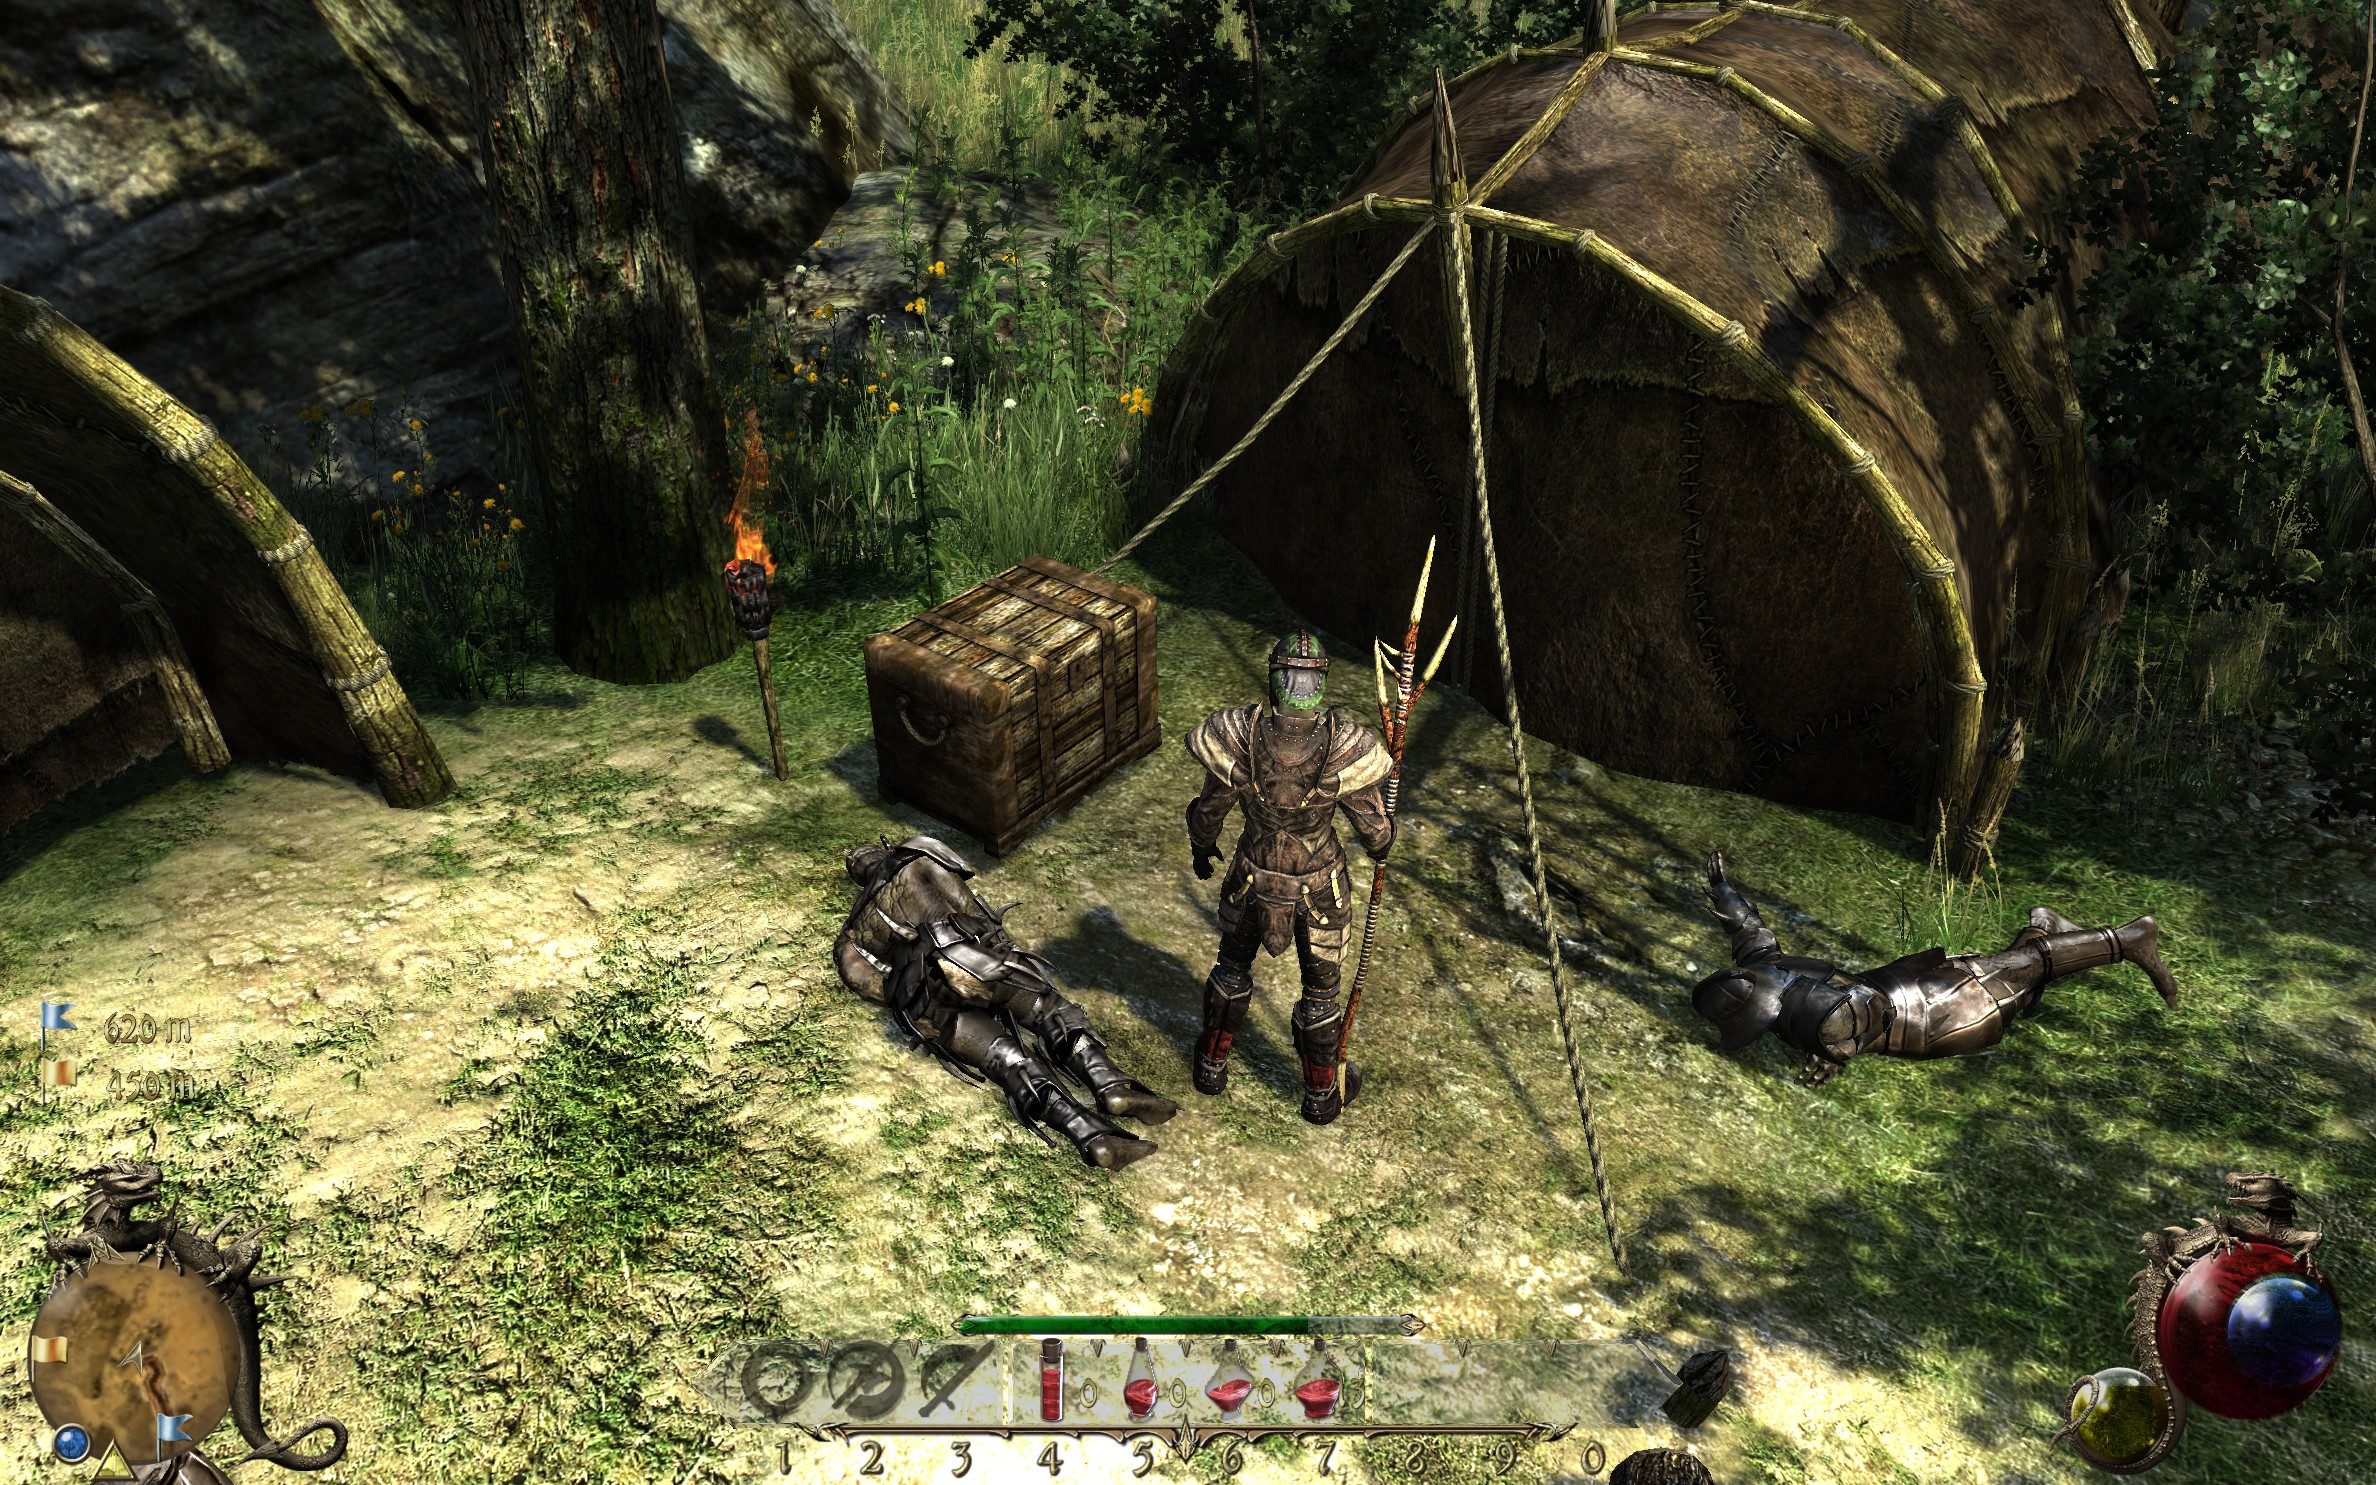
Chest 2 location.

Chest 3 location.
Chest 4 location.

Chest 5 location.


Gallery (glitches)
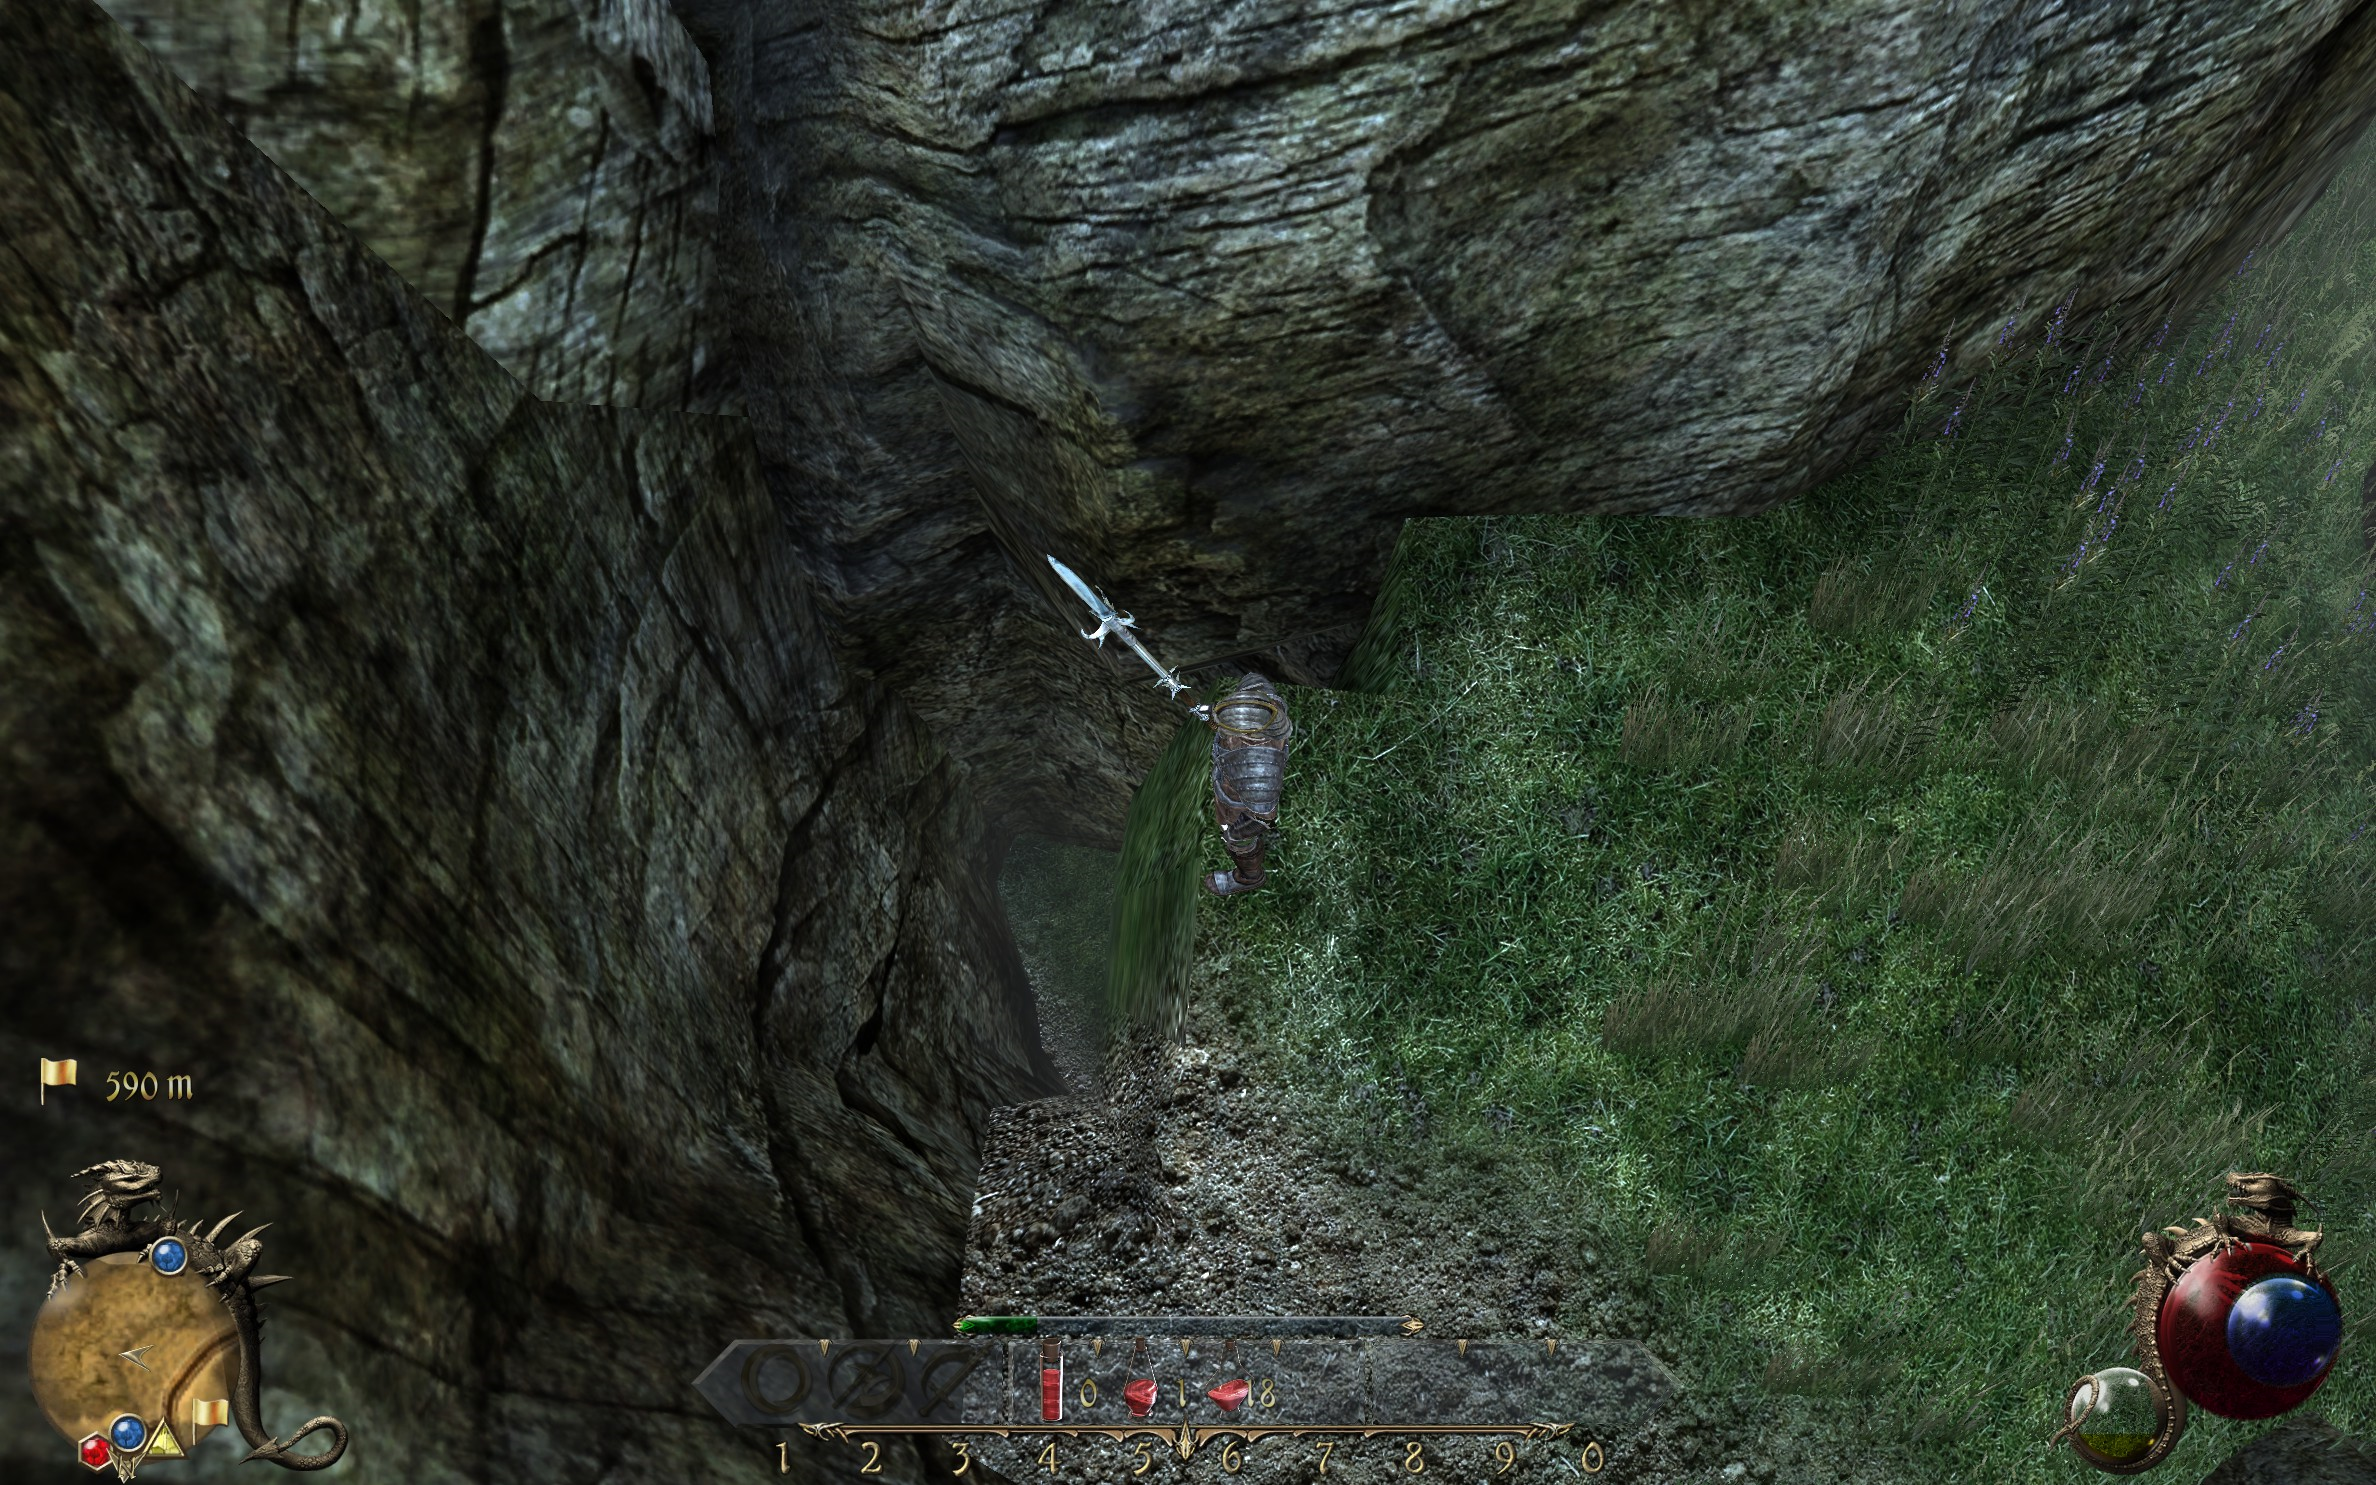
Dangerous hole.
Teleport hole.
Teleport hole on the map.
Messed up ground.
Out of bounds hole.


Bugs
- When looting Wolves, you will also obtain an item called DLC2_ING52.
- Near the fourth teleport is a hole in the ground that the player can fall into and get trapped.
- If you have a personal teleport platform, you can place it down and escape using that. You can reclaim it once you've finished the level and are free to quit without losing progress.
- A second method to get out of the hole is to run at the wall. With enough stamina, eventually, you'll be able to run out of it.
- After dealing with the Vidon that spawns on and around a bridge, if the player follows the river to its end, they can go out of bounds. Where they'll be teleported back to the start of the level.
- The river between the third and fourth teleports.
- Across from the second to last Teleport is a mountain that the player can walk under, getting out of bounds.
In other languages
| Language | Name | ||
|---|---|---|---|
| English | UK |
Chapter III: The Well of Wisdom | |
Trivia
- The quest logs for this mission contain three different mistakes.